
Workflow Part 2 – Intermediate
In part 1 of this series, we focused on the basics of workflow and how to get started creating simple workflows. In Workflow Part 2, we will focus on the somewhat more advanced options of workflow to give you more tools by which to control your processes. Specifically, we will focus on Follow-Up Actions, Assign/Complete Actions, Multi-Condition Triggers and Advanced User/Team Assignments.
Follow-Up Actions
Follow up actions are those actions that are assigned for the system to do once a work trigger has been assigned. They are not done immediately but rather on a timer so they can happen at a later date/time. They are used to remind users of items coming due, to re-assign overdue items, add notes and more.

Use the “Add Follow Up” button to add a new follow-up action. In the properties screen you will see options broken up into “Timing” and “Actions.”
Timing
“Timing” is where you tell the system when to perform this action. You can specify dates and times relative to the Due Date of the item, the Start Date (Assigned Date) of the item or relative to a specific field in the Record. To specify the date/time you will use days and hours offset from the relative date you selected. The system defaults to assuming the date/time is AFTER your relative date but you can tell it to use a date/time before the relative date by using negative numbers as we have shown in the image above. In this example we are telling the system to perform the action 2 days before the Due Date.
 Actions
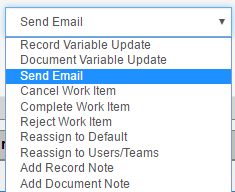
“Actions” tells the system what actions to perform when the timer is met. The actions here are much the same as the actions for the User Buttons as discussed in the Workflow Part 1 article. The available action types are meant to allow the system to update values, cancel, complete or reject items, reassign items and add notes.
Once you select the action type, the screen updates to reflect the settings available for that action type. In the example maybe we are sending an email, so we see the subject line visible in the window and we have an “Edit Details” button to give us an opportunity to edit the email properties. If we had selected a Record Field Update action, we would have seen fields that allow us to specify the field name to update and the value to which to update that field. Experiment with each of these types and they should be fairly obvious how they work.
Assignment/Completion Actions
Assignment and Completion Actions are those actions that happen at the time the work item is assigned to the proper user and when the user completes the work item, respectively. They both have the same options and same action types as the Follow-Up Actions described above so we will not go into those details. It is more important that you understand when to use each one.
Assignment Actions
Assignment actions happen when the work item is being assigned to the user(s). As soon as the system determines that the item is being assigned, these actions happen right away BEFORE the users are notified of the assignment. Technically they happen before the item is actually assigned but they happen almost instantaneously so you can think of the two happening at the same time. The takeaway here is that these actions happen BEFORE the users get an opportunity to interact with the work item.
Here are some typical use cases for Assignment Actions:
- Updating status field to current step name or another indicator showing where the record is in the process
- Writing the current date/time to a field or to the notes so users can tell when this step started
- Sending an email to an outside party to let them know this process is being performed (customer service notifications)
There are plenty more examples, but this should be enough to show the importance of Assignment Actions.
Completion Actions
Completion Actions happen when the work item is being completed by the current user. As soon as the work item is completed either by a button click or by a follow-up action or by any other means, the Completion Actions are performed. These are not used as frequently as Assignment Actions, but they still have their place. Here are a few use cases:
- Update status field to show that the item has left this step (although the next step will most likely overwrite this status anyway)
- Writing the current date/time to a field or to the notes so users can tell when this step completed
- Sending an email to an outside party to let them know this process has been completed (customer service notifications)
The main take away from the Completion Actions is that they happen every time this trigger step is completed – regardless of the button that was clicked. If you need an action that is specific to a certain outcome (or button click) then use that button’s actions to perform the work.
Multi-Condition Triggers
In our Workflow Part 1 article, we talked about how to trigger a work item when a couple environmental variables matched (Record Type of Invoice and Status field is empty). One thing we did not get into was that you might have other cases where this work trigger needs to be activated. In addition to the above activation rule, we may also want to activate this step if the Record Type is Invoice, but the Status is set to “Rejected.” The scenario being that someone down the line saw a problem and wanted to send it back to this step for fixing.
To add another activation rule, click the “Add Rule Set” button as shown in the image below.
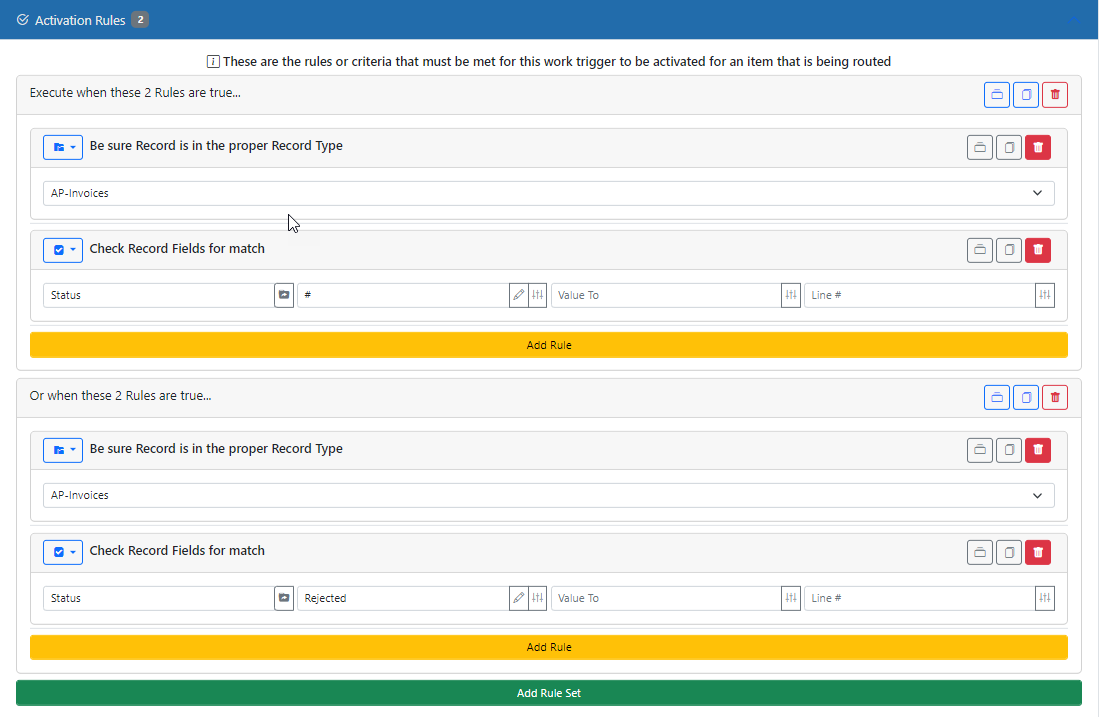
Then set the new rule’s properties to match your needs for the other rule that would trigger this step. As shown in the image above, we have essentially the same rule as the first one except that we look for a Status value of Rejected.
AND vs OR
Rules can be based on “AND” logic or “OR” logic. If you want to have a trigger that activates if rule A is true OR rule B is true, you would use a new Rule Set. Each Rule Set is evaluated and if any one of them is true then the trigger activates.
If you want to have a trigger that activates if rule A is true AND rule B is true, you would use a new Rule (not Rule Set). Each Rule is evaluated in its set and the Rule Set is only true if ALL rules within it are true.
Advanced User/Team Assignments
Up until now we have been showing simple assignments. In our Workflow Part 1 article, we showed how to assign the work trigger to a single user. However, if you looked at the screen shots and have been following along in your own site you surely have noticed that there are more options than just selecting one user. You can select many users at one time and you can select one or more teams as well. In fact, you can select one or more users along with one or more teams. When the trigger is assigned, each team is broken down into its user list and the system assigns the item to all users specified individually or as teams so to the system it all looks like users.
One question that comes up is whether or not a single user will get the work item assigned multiple times if they are in a team or two that is assigned, and they are also specifically assigned as a user. The answer is NO. When the assignments happen, the system removes duplicates, so the same user only gets assigned once.
Dynamic User/Team Assignments
If you look at this assignment panel one more time you will notice that there is a tab labelled “Dynamic”. The fields in this tab allow you look up the users/teams to assign to, based on a field in the current Record. You type the name of a RECORD FIELD into the Dynamic Lookup field. When the system assigns the item, it will look at the currently routed Record and look for a field with the name you typed in here. If it finds a field with that name, then it uses its value as the user (by name or email) or team (by name) to assign to.
This is a very powerful feature. You can set up the workflow so that the contents of the Record dictate who it gets assigned to. For instance, you can have an E-Form that allows the user to specify a team via a drop-down list and that value is written to a field named TEAM. Then in the work trigger screen you enter the value “TEAM” into the Dynamic Team Lookup field and the team that was selected by the initial E-Form is the that receives the work item.
As before with users/teams, these dynamic field can be used along with the static User and Team fields. You can specify any or all of these options and they will all work together.
Summary
In this article we expanded on Part 1 to give more information about the available options of Work Triggers. In a future article we will expand on this even more with a more in depth look at various other aspects of Work Triggers.
Related information: Workflow overview
Workflow Part 1 – Introduction to the Basics