
Workflow Part 1 – Introduction
Workflow Part 1 focuses on the basics of workflow within the DocMgt system. Once you have read this article you should understand how workflow works in DocMgt. You should also be able to create your own simple workflow. In future articles we will focus on more advanced workflow topics so stay tuned for those in the near future!
What Is Workflow and Why Should You Care?
Workflow within the context of document management systems can be stated simply as: “the process of delivering information at the proper time to the proper users to perform their part of a process.” You can see examples of this every day in your work. If you are in Accounting you probably have to deal with paying invoices. The “process” of getting the invoice information reviewed, approved for payment, entered into your accounting system and filed away is actually a workflow. This is the flow of work that it takes to complete a process. Everyone already has workflows that they use to get their job done.
What DocMgt does is help automate as much of your process as possible so you can minimize the amount of work you have to do to get your work done. DocMgt can deliver the invoice to a user to review the invoice, validate it and extract the raw data for processing. DocMgt can even “read” the invoice to help the user extract the information from the invoice faster.
DocMgt can then deliver the invoice to someone for approval. And not just “someone” but the “proper someone” can be determined automatically so invoices always go to the right person for approval. After approval, we can then deliver the invoice to the proper person for payment and can enter the payment information into your accounting system automatically.
This is just one example of workflow but many, many more exist in every office size. It is not just the big organizations that can benefit from a workflow system like DocMgt – every company can.
How DocMgt Does Workflow
We have designed DocMgt’s workflow to focus on the steps of the process and not have to worry about the entire process at one time. In some workflow systems you need to design the entire workflow in one graphical design screen. This sounds like a nice way to do it but as you use systems like that you see that they limit you more than they help you.
When designing workflow in DocMgt, think of each step of the process as an independent process of its own. In our invoice example above, you would first focus on the “review” step. Once you have this step done, then you can focus on the other steps one at a time. The thought is that you should be able to take the invoice to each person in the process and ask them “what do you do with this invoice and what events would cause you to do your work.”
For the “Review” step that person might say to the “what do you do” question that they have to review the invoice to make sure it is valid and then type the information from the invoice into a spreadsheet or some other tracking mechanism. For the “what events” question they may say that when a new invoice arrives, they have to do their work or when someone else notices that they typed in the wrong information they have to re-do their work. In DocMgt’s terms we would just configure the “Review step” to activate when the invoice first comes in and also when there is a problem.
A Real Workflow Example
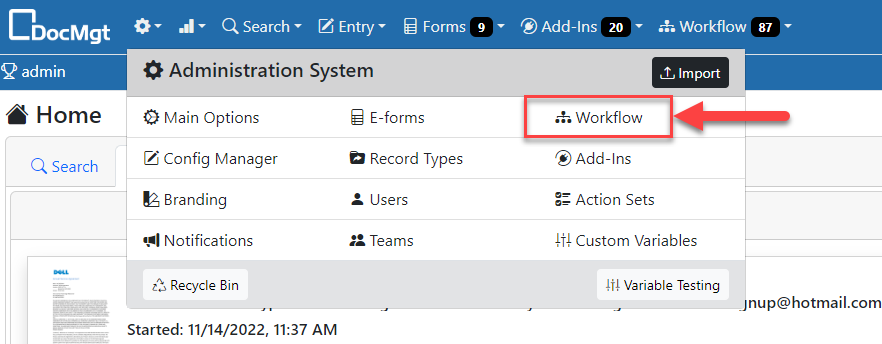
We will use the above “Invoice Review” example to configure a work trigger within DocMgt. Click on the “Workflow” link in the Admin drop down from the top toolbar to get to the Workflow list.
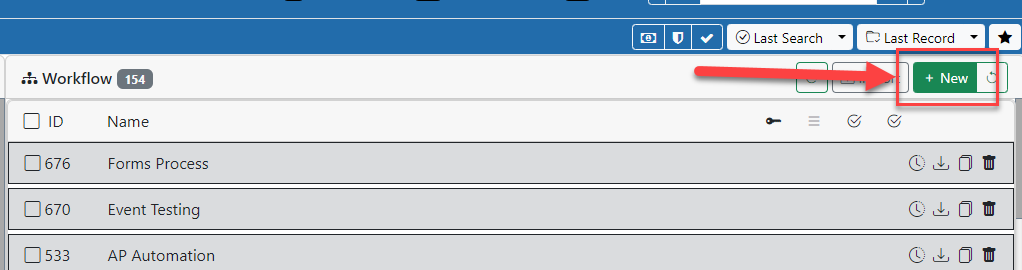
From the list, click the “+ New” button to create a new Work Trigger.
Configuring the Basics
Here is where you would configure the trigger to work as we have outlined above.

The first thing you should do is give the trigger a name that makes sense to the users who will see this in their work list. In this case we will call it “Invoice Review” since that is fairly self-explanatory.
Next, we need to configure the “Activation Rules.” These are the rules that will dictate when this job needs to be done. In this scenario, we will start with 2 rules. First, the information that is coming through the workflow system must be an Invoice. So, we chose to activate when the Record Type is set to “AP-Invoices” (the name can be different in your system). Second, we need to be sure that the invoice coming through is new so we will check to see that the Status is not yet set. Do this by selecting the “Record Value Check” type on the left, entering Status for the field name and then leave the “Value From” field blank or # (which means blank). What these 2 rules mean is that if an invoice comes through with no status, then it must be new so it must be reviewed first.
Once you have the name and the rules configured, you need to specify what user or team of users is responsible for this step of the process. You can select one or more users or one or more teams or a combination of both. For this example, just select a single user. Make it YOU for now for the sake of testing (If you are logged in as Admin then select the Admin user). We typically set up each new step using our own user until we make sure everything works. Then we will go back and change the assignment to the correct user(s) for the final rounds of testing.
At this point you have configured the workflow system to deliver an invoice to the correct person for the Invoice Review step to happen. Now you need to give the user something to do that tells DocMgt they are done with their work and are ready to move to the next step. You do this using the “Buttons” section of the configuration screen.
IMPORTANT ASSINGNMENT NOTE: If you want your trigger to perform actions and continue without user intervention, DO NOT assign a user. If you assign a user, then the workflow engine will stop at this trigger and wait for someone to click a button. Best practice for these non-user actions is to add all your actions into the Assignment Actions section. Just be sure to set the Status field so that the trigger moves on automatically.
Adding in Some Actions
This section is used to configure what buttons (or actions) the user has available to them while they are working on this step. Typically, the work done at this step is performed in a data entry screen or a document classification screen or in another system entirely. For sake of this example, we will assume the user is going to simply look at the invoice and make a choice as to whether or not this invoice is good. For that reason, we will give them 3 buttons – OK, Duplicate or Incorrect.
You can use the “Add Button” option at the bottom of the list to add a new button. When you do, you can give the button a name which shows up to the user in the DocMgt screens. In order to edit the buttons actions, click on the button itself and that will open up the full view of the button properties.
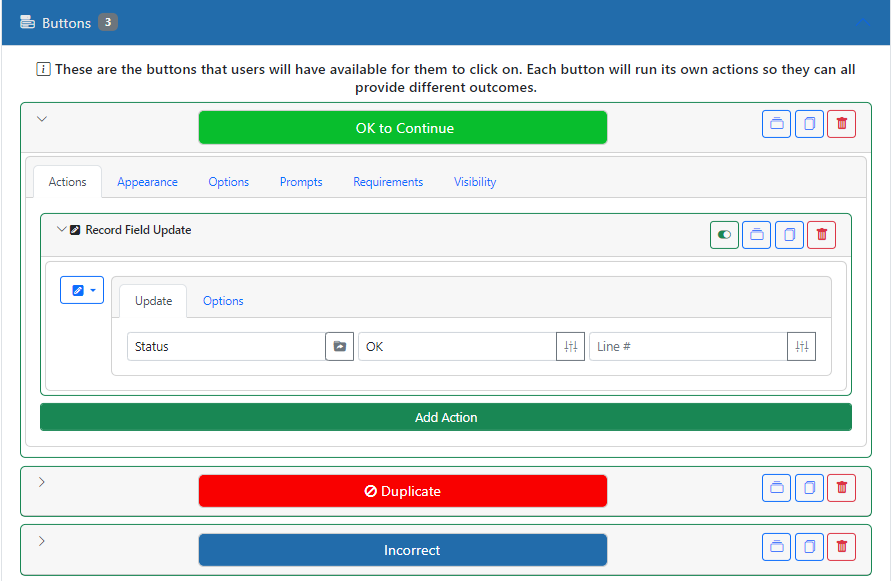
In this example we have 3 buttons, which are set up as follows:
- “OK To Continue” – this button should be clicked when the invoice is a valid invoice and is not a duplicate. What the button does is perform a “Record Field Update” action to change the “Status” field to “OK”.
- “Duplicate” – this button should be clicked when the invoice is a duplicate. What the button does is perform a “Record Field Update” action to change the “Status” field to “Duplicate”.
- “Incorrect” – this button should be clicked when the invoice is not valid for any other reason than duplicate. What the button does is perform a “Record Field Update” action to change the “Status” field to “Incorrect”.
Once any of these buttons is clicked, the actions are performed (Status field is updated) and the workflow engine moves the workflow to find the next valid step. The other steps will watch for these other statuses (The OK, Duplicate and Incorrect steps) and will take the invoice to the proper users to handle those scenarios. Just like in the real-world example, once this user has done their work the invoice moves on and this user can grab another invoice to work on.
Summary
This is a very simple, yet real world, example of Workflow in action. By having multiple triggers all acting in unison, you will end up with your completed workflow. In future workflow articles we will talk about other scenarios such as escalations, automatic duplicate checking, and dynamic user assignments. But what you have read here today is really the foundation of how workflow works and can help you become more efficient and productive with your everyday tasks.
Workflow Part 2 – Intermediate Configuration
Workflow Part 3 – Action Types
Workflow Part 4 – Work Trigger Methods