
Public Portal Using E-forms
DocMgt Version 4.11 has added several enhancements to the E-form system. Two of the new fields we have added can help you build an E-form that works as a public searching system. This article will take you step by step to create your own public portal using E-forms. It is important to know that with this technique, you will be making records available for anyone in the public to see. This is useful for City/County Governments, Schools, NGOs and more.
Step 1 – Make a Record Type ‘Public’
For public searching to work, you need to set up your Record Type for Public availability. Only public data can be searched with a public search form.
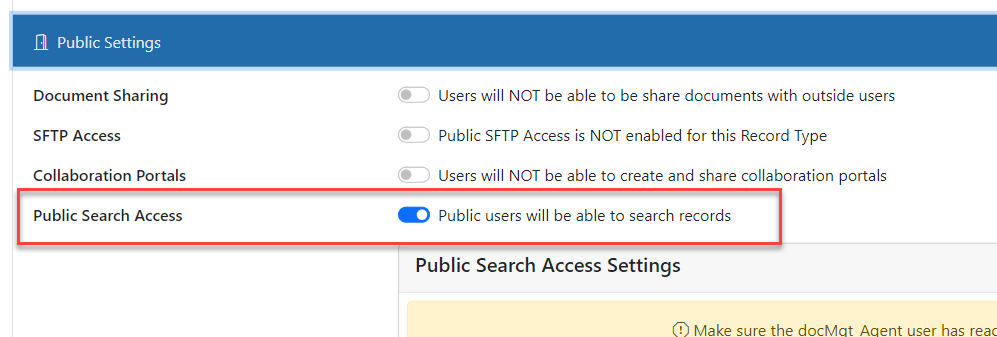
Open the Record Type in your admin system and open the “Public Settings” section. In there you will see an option labelled “Public Search Access.” Turn that on. There are other settings such as “Public Name” and “Record Titles” but we do not need to configure those. They are used for the built-in public search system.
Step 2 – Make a New Public E-form
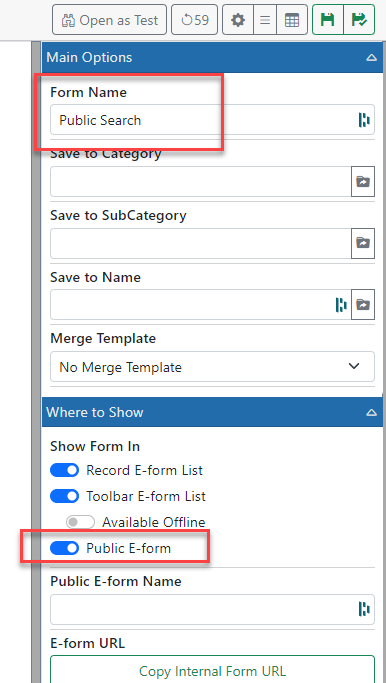
Add a new E-form in the system and give it a useful name – like ‘Public Search Form’. Then mark it as a Public E-form. You will find that option in the E-form properties, under the “Where to Show” panel.
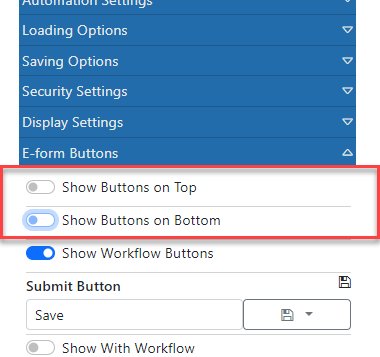
Turn OFF the E-form buttons by checking off the “Show Buttons on Top” and “Show Buttons on Bottom” options in the E-form Buttons panel. This makes sure no SAVE buttons show up. You don’t want users to save any data with this form – just search and view.
Step 3 – Add a Public Search Results Field
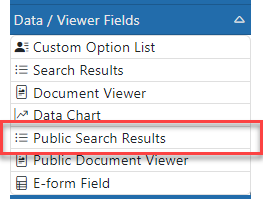
Drop a “Public Search Results” field onto your form. You will find that field in the “Data / Viewer Fields” toolbox.
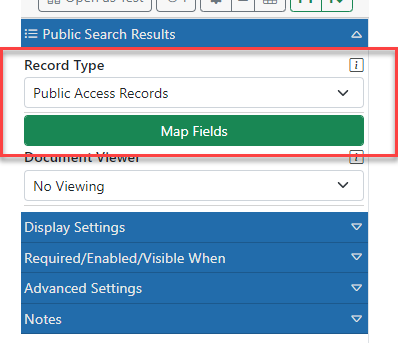
Then in that field’s settings panel, select the public Record Type you want to search within. Then click the “Map Fields” button to configure which fields from the Records to display in your search results.
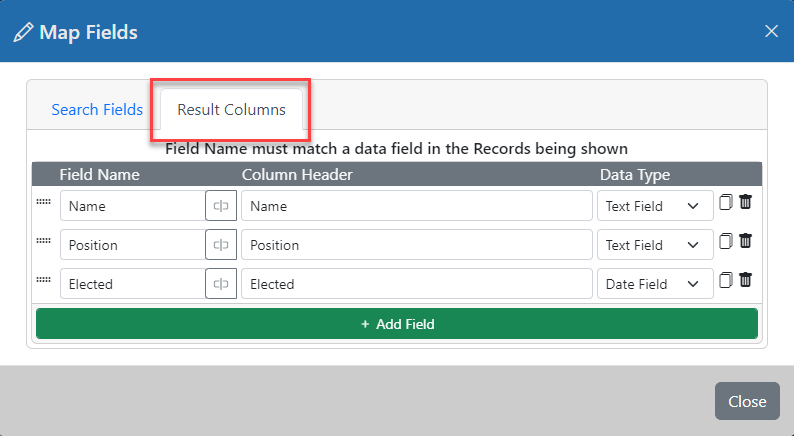
For now, let’s skip the “Search Fields” and go right to the “Result Columns” to set up the columns. Add a Field to the results using the green “Add Field” button and the select a field name to display from the field selector. The column header will automatically be filled in with the name of the field, but you can change that if you like. On the Data Type selection, you can choose Text, Number or Date – whichever matches your field type. We will discuss the Button option in a later article.
Add as many fields as you need to show your data. Be cautious not to add too many though because smaller screens like phones and tablets may not have a lot of room to show many.
Step 4 – Add a Search Button
Let’s add a simple Search button that will trigger the search. Later we will be adding more fields for searching but for now we will start with just a button.
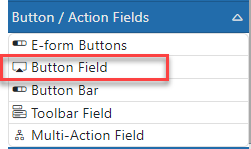
Drop a Button field from the “Button / Action Fields” toolbox onto your form.
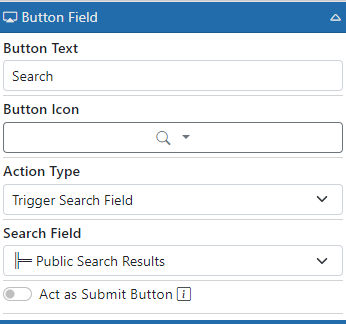
Change its Button Text to “Search” and select an icon to make it look nice. Then in the “Action Type” setting – choose “Trigger Search Field.” Then in the “Search Field” setting, choose the “Public Search Results” field.
Step 5 – Stop and Test the Form
At this time, you should be able to test your form. You will only be able to search ALL records at this time, but it is good to test to be sure data is flowing properly. Once we are sure things are working, we will add search fields to help refine the search.
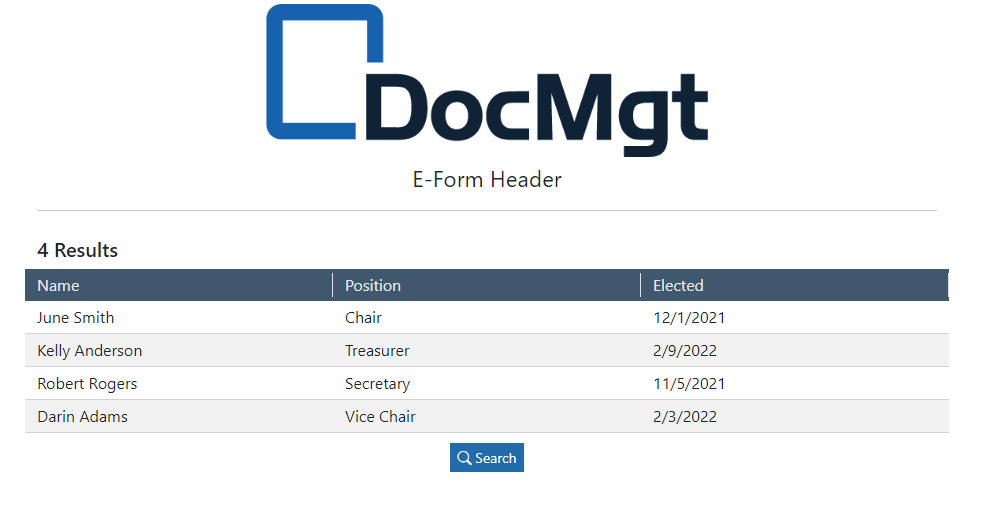
Save your form then click the “Open as Test” button to open the form in a new window. Once it loads, click your “Search” button and you should see some results (if you have data in your Record Type).
You are over halfway done creating a public portal using E-forms!
Step 6 – Add Search Fields
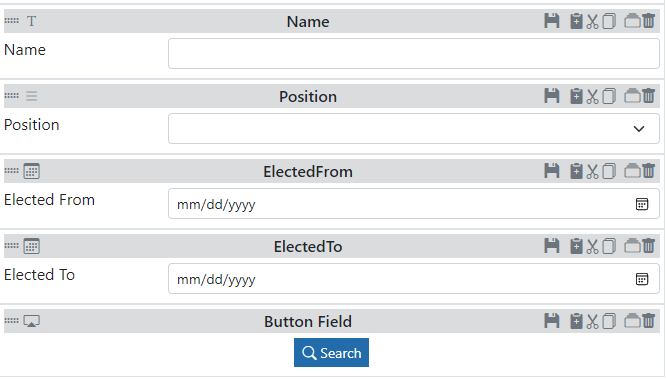
Now that the form is functional, we can add more capabilities such as adding search fields. You can use any field type that makes sense. In our example here, we will allow users to search by Name with a text field, Position by an option list and Elected with a date range.
Add a Text field onto the form and name it something that makes sense for your Record Type. We will use “Name” for this example. Add as many fields as you need for your search.
Step 7 – Associate Fields with Search
Now we need to associate our new form fields with the search. We do that by adding entries in the “Search Fields” section of the Public Search Results field.
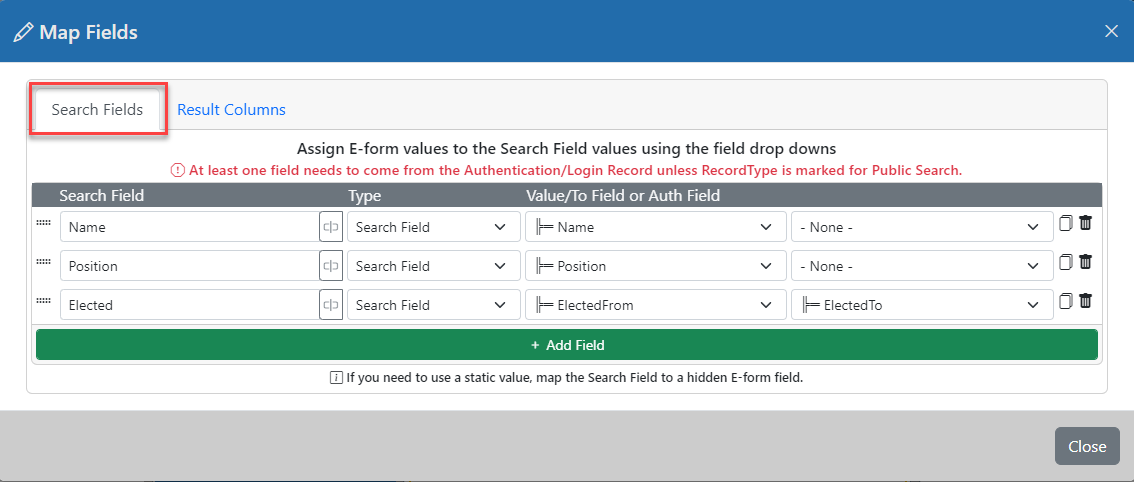
Go to the “Public Search Results” field and click the “Map Fields” button. In the “Search Fields” section, click the “Add Field” button and select a Record Type field from the field selector. Make sure the Type setting is set to “Search Field.” In the “Value/To Field…” selection, select the correct E-form field. The last drop down is used to do range searching for numeric or date values. If you need to do a range search you will need to drop 2 fields into your search – one for the FROM value and one for the TO value.
Repeat this for each field you defined for searching. When you are done, your search fields should resemble this screen.
Now if you test your form, you should be able to enter search criteria to limit your search.
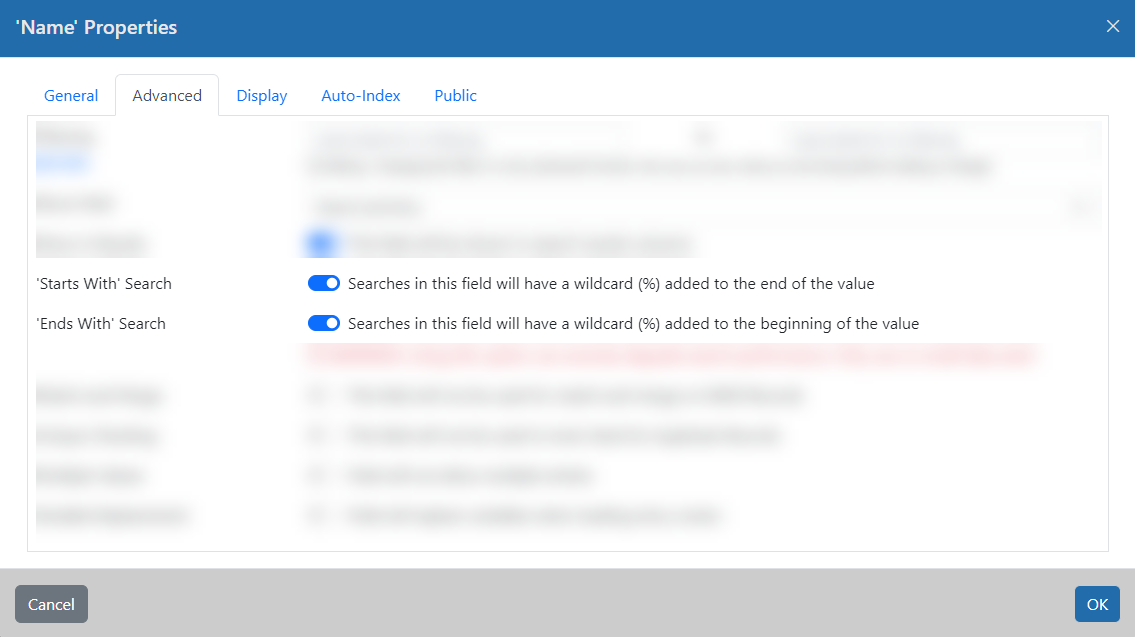
One quick note on searching. By default, text fields are set to “exact” matching which means you would have to type in a person’s full name to find them in our example. That is not very user friendly but there is an alternative. In the Record Type settings for that field, go to the Advanced tab and you will see 2 wildcard options. If you turn them BOTH on then you will enable searching on any part of the value. In other words, it turns the search field into a “contains” search. You can also use just the “Starts With” or “Ends With” options. Whichever you decide to use, you should add a label to the E-form that instructs the users on how it works.
Step 8 – Add Document Viewing
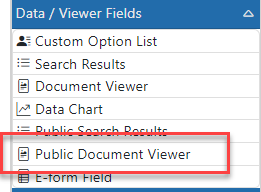
Now that we can search for records, we can work on enabling document viewing. For that we will use the “Public Document Viewer” field from the “Data / Viewer Fields” toolbox.
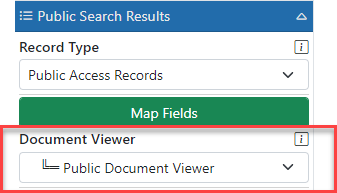
Drop a “Public Document Viewer” field onto your form. For now, place it above the search results. We will move it later. Go back to the “Public Search Results” field and change the “Document Viewer” option to the new “Public Document Viewer” field.
Save and test your form to see how you can now search and click on the result to show documents! You can even tweak the document viewer to only show documents from specific categories if you need.
Step 9 – Pop Up Documents
The form works, but it does not feel very intuitive to have the document show up and not be able to get rid of it. A common viewing method for these types of systems is to show the documents in a pop-up window and allow users to close when done viewing.
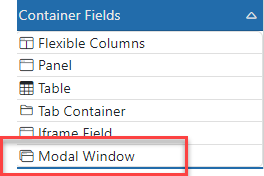
We have a “Modal Window” field that will allow us to do just that. It is in the “Container Fields” toolbox.
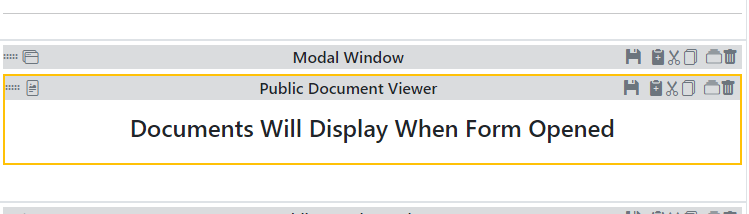
Drop a “Modal Widow” Field onto the form right above your Public Document Viewer field. The Modal field allows you to put fields inside of it that will only show when the modal pops up. Let’s drop our Public Document Viewer field into that Modal.
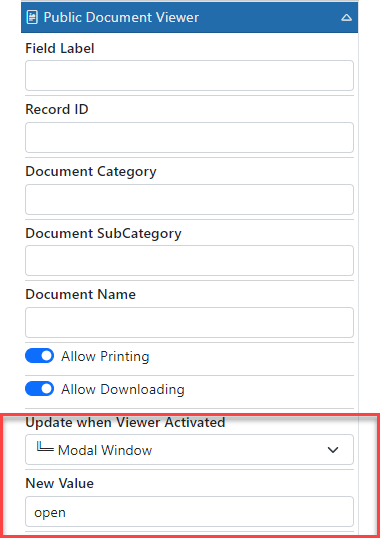
Now all we have to do is tell the Modal to “pop up” when a document is being viewed. The simplest way to do this is to use the “Update when Viewer Activated” setting in the document viewer field.
Click on the document viewer field then set the “Update when Viewer Activated” setting by pointing it to the “Modal Window” field. Then in the “New Value” field you just need to set it to anything to trigger the modal. We typically use the word “open” or just an “x.”
Save and test your form and now you can see your documents pop up when you click on a search result. That is a much better UI design!
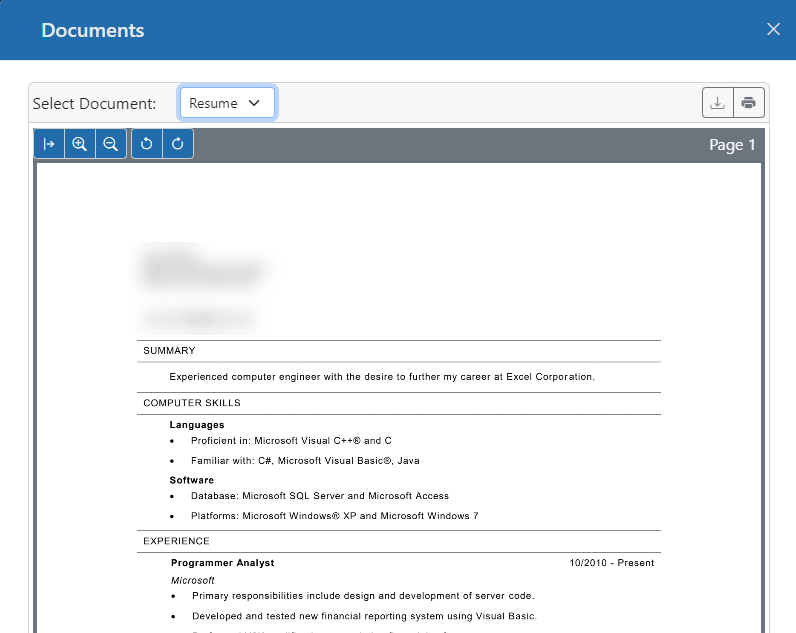
You can change the Modal field “Display Settings” to make the pop-up wider or narrower to fit your needs. For this type of search/view UI, I would recommend using Extra Large for the size. Don’t worry about mobile users – the modal will automatically adjust to their screen. You can also set the Modal’s title, icon and more.
Summary
There you go! Your first public search portal using E-forms! We hope you enjoyed this tutorial and can use it to build great solutions!
Related Articles