
Collaboration Portals Pt. 3 is the third piece of a series of Collaboration Portal articles. Please read Collaboration Portals Pt. 1 to see how to share documents via a portal in a more simple manner. Please read Collaboration Portals Pt. 2 for a more advanced article that delves deeper into creating a portal by hand using the Collaboration Section panel in the Record Screen.
Collaboration Packages are used to share information with and request information from external users.
Collaboration Package Templates can be configured to allow users to quickly create a predefined Collaboration Package from within an existing Record and can also be used in Workflow.
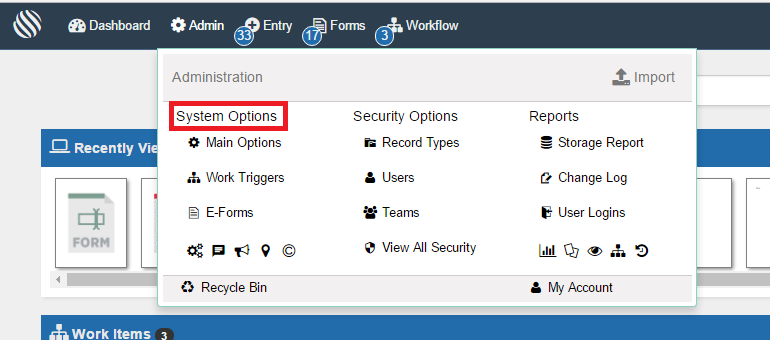
To manage Collaboration Templates page you must be a System Administrator. System Administrators can select the “System Options” button in the Admin drop down.
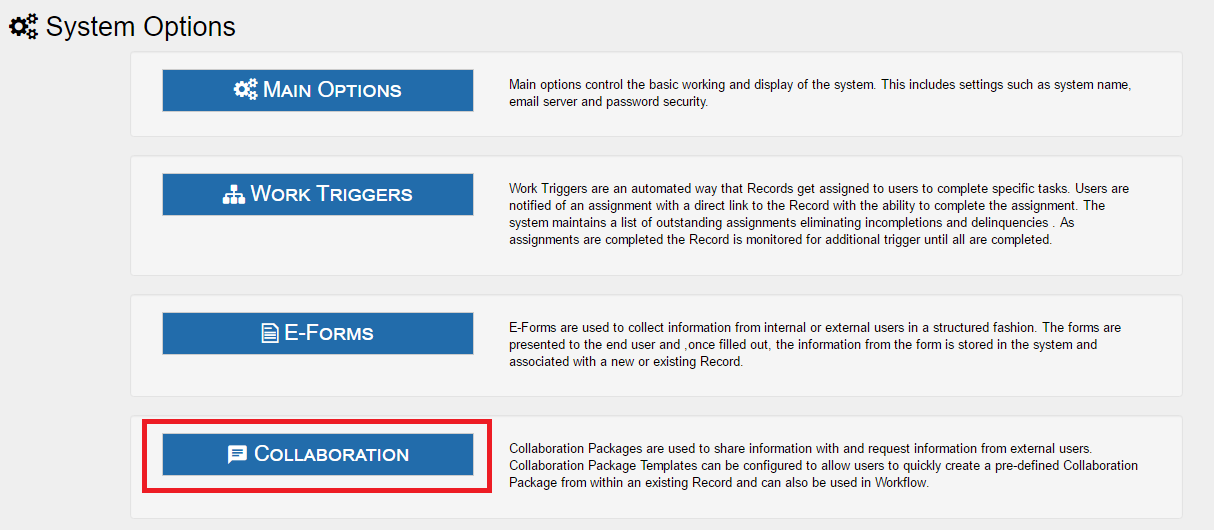
In the System Options, Collaboration is made available. Select the Collaboration button.
Add New Collaboration
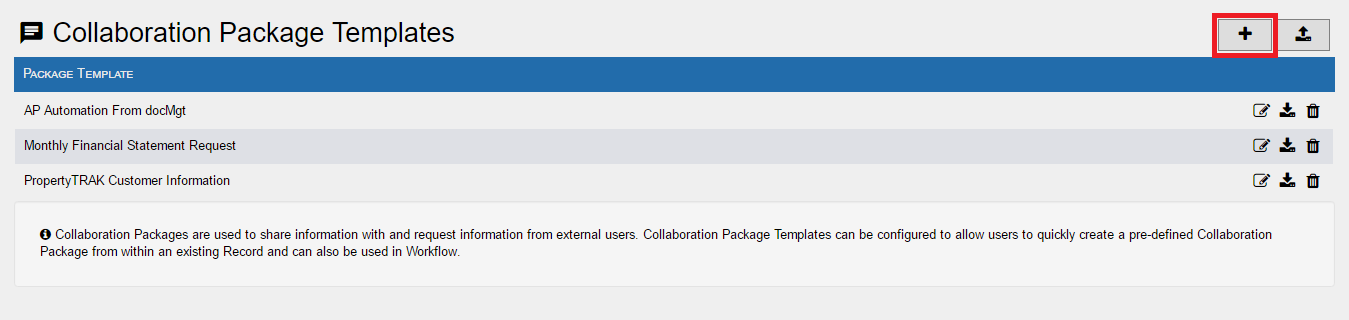
To add a new Collaboration Package, select the [icon name=”plus” class=”” unprefixed_class=””] button. You may also edit current Collaboration Packages by selecting the [icon name=”pencil-square-o” class=”” unprefixed_class=””] button next to the desired Package.
General Settings
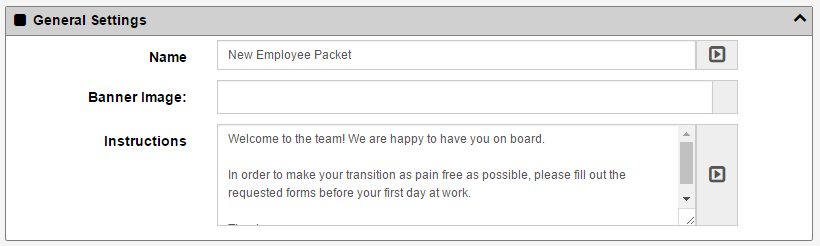
Name: The name of his package. This will be used as the default value for the email subject (can be changed) and will also be shown to internal users when they choose a template from which to create a package.
Banner Image: If you want a banner image at the top of the collaboration portal you can enter the full URL here. Leave this blank if you do not wish to use a banner. *IMPORTANT: you need to be sure to use a URL that starts with HTTPS:// and not HTTP://. The URL without the S is not secure. Showing an insecure image on your portal can make your entire portal page not secure!
Instructions: The instructions that you wish to show to the external users. This should be an explanation of what the expectations are of them when using the package.
Email Settings
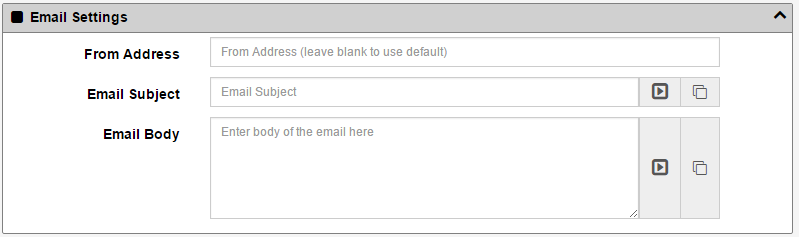
From Address: The email address you wish to show as the “from” address. This address will be used if the end user replies to the email. If you leave this blank then the system default FROM address will be used.
Email Subject: The subject of the email that is sent to the package users for this package. Click the [icon name=”caret-square-o-right” class=”” unprefixed_class=””] button to insert a pre-defined variable into the text box. Click the [icon name=”clone” class=”” unprefixed_class=””] button to copy the package name into the subject.
Email Body: The body of the email that is sent to the package users for this package. Click the [icon name=”caret-square-o-right” class=”” unprefixed_class=””] button to insert a pre-defined variable into the text box. Click the [icon name=”clone” class=”” unprefixed_class=””] button to copy the package instructions into the subject.
Shared Documents
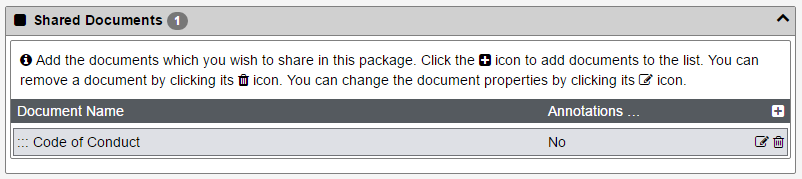
Add the documents which you wish to share in this package. Click the [icon name=”plus-square-o” class=”” unprefixed_class=””] icon to add documents to the list. You can remove a document by clicking its [icon name=”trash-o” class=”” unprefixed_class=””] icon. You can change the document properties by clicking its [icon name=”pencil-square-o” class=”” unprefixed_class=””] icon.
The order in which the documents show up in this list is the order which they are shown to the users. If you want to re-order the documents you can click and drag the ::: handles on the left of the item and drag it up or down.
When editing the document, you have the following options:
Document Name: The name of the document to share. You don’t actually share specific documents from the Record – you share documents by name. Any document that matches the name will be shown to the users. If you have more than one document with the given name in the Record then the users will see both.
Description: The descriptive text to show the end user. This can be an explanation of how to use the document or instructions for them to print it out, etc.
Allow Annotations: By checking this ON you will be allowing the external users to add or change annotations on the document. Be sure this is OK as these annotations will be active on the document when viewed by internal users as well.
Required Documents
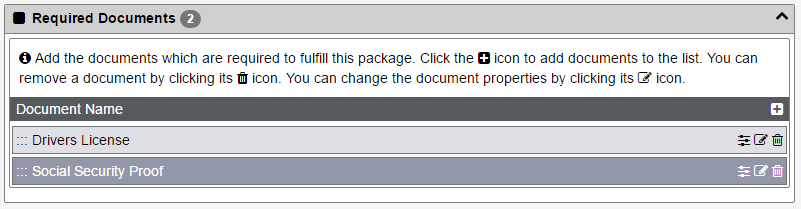
Add the documents which are required to fulfill this package. Click the [icon name=”plus-square-o” class=”” unprefixed_class=””] icon to add documents to the list. You can remove a document by clicking its [icon name=”trash-o” class=”” unprefixed_class=””] icon. You can change the document properties by clicking its [icon name=”pencil-square-o” class=”” unprefixed_class=””] icon.
The [icon name=”sliders” class=”” unprefixed_class=””] icon is used to set dependencies. Dependencies ensure that documents are only required if a specific form has already been submitted. For instance, if a user submits a request form for payroll information you may then want to have them upload a copy of their driver’s license as proof that they should have access to the payroll information. If they never submit that request then you would not require them to upload the driver’s license.
The order in which the documents show up in this list is the order which they are shown to the users. If you want to re-order the documents you can click and drag the ::: handles on the left of the item and drag it up or down.
When editing the document, you have the following options:
Document Name: The name of the document to require. The document that the user uploads for this required document will be named this name. If they upload multiple then all will have the same name.
Description: The descriptive text to show the end user. This can be an explanation of how this document will be used or anything you wish to relay to them.
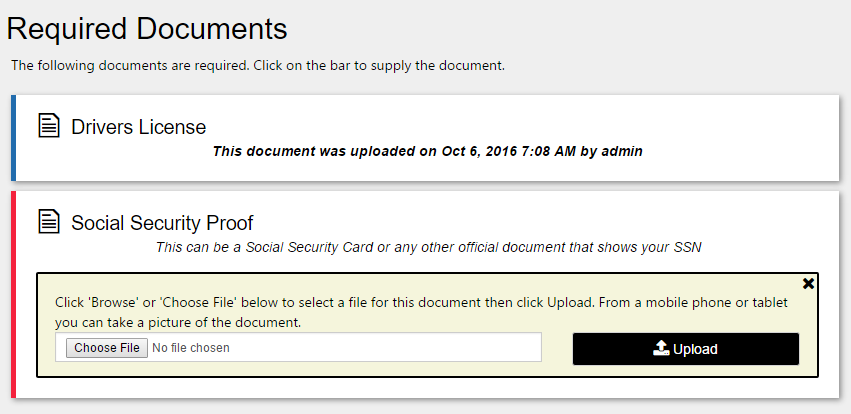
End users will see this section on the package screen. The list of required documents will be shown and any that are still outstanding will be in red. Any that have been uploaded will be in blue.
Users then the option to upload documents into that required “spot” so that can be fulfilled which updates their completion status.
Required E-Forms
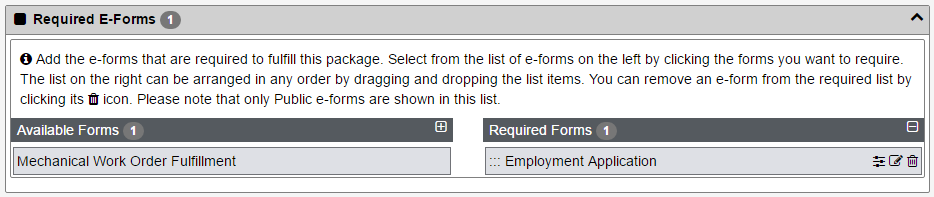
Add the e-forms that are required to fulfill this package. Select from the list of e-forms on the left by clicking the forms you want to require. The list on the right can be arranged in any order by dragging and dropping the list items. You can remove an e-form from the required list by clicking its [icon name=”trash-o” class=”” unprefixed_class=””] icon. Please note that only Public e-forms are shown in this list.

End users will see this section on the package screen. The list of required forms will be shown and any that are still outstanding will be in red. Any that have been filled out will be in blue.
The user simply clicks on the form name to open the form. As they save the form it updates the bar to blue and updates their completion status.
Record Types
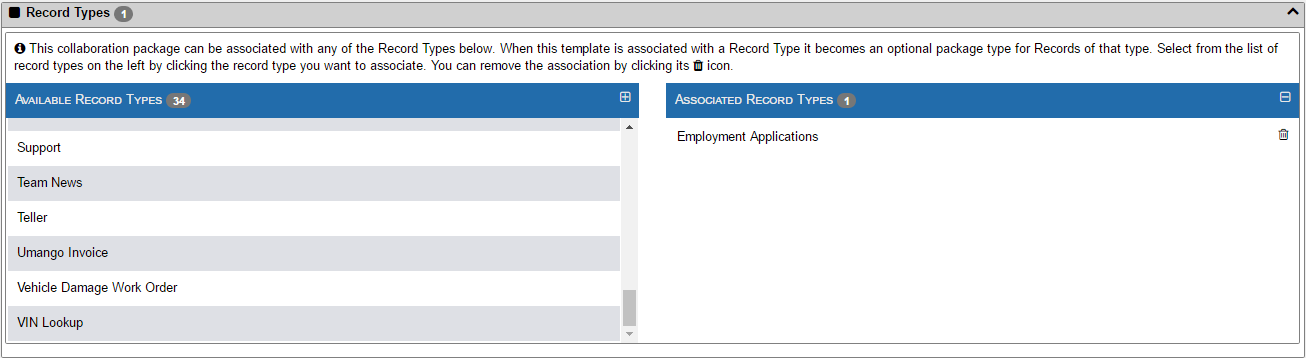
A collaboration package can be associated with any of the Record Types in the list on the left. When the template is associated with a Record Type it becomes an optional package type for Records of that type. Select from the list of record types on the left by clicking the record type you want to associate. You can remove the association by clicking its [icon name=”trash-o” class=”” unprefixed_class=””] icon.
Summary
docMgt is committed to providing easy access to its users to connect with external parties. That’s why docMgt created its Collaboration Package piece, to do just that. We hope you all users and external users enjoy this seamless process.
Related Articles