Collaboration Portals Pt. 4 is the fourth and final piece in a series of Collaboration Portal articles. If you haven’t already read the first 3 articles in the series I would highly recommend doing so. You can read Collaboration Portals Pt. 1 to see how to share documents via a portal in a simple manner. Read Collaboration Portals Pt. 2 for a more advanced article that delves deeper into creating a portal by hand using the Collaboration Section panel in the Record Screen. Finally, read Collaboration Portals Pt. 3 to gain insight on Collaboration Templates are used in docMgt for automating the creation of Portals.
Collaboration Packages are used to share information with and request information from external users. Sharing multiple records in one portal is invaluable in situations where the external user needs to gain insight into many related document sets. A good example of this is when working with external auditors. They may need to see a sampling of last year’s invoices or customer records. With Collaboration Portals you can share all these records in one place for the auditor to have secure access.
Share Records via Portal
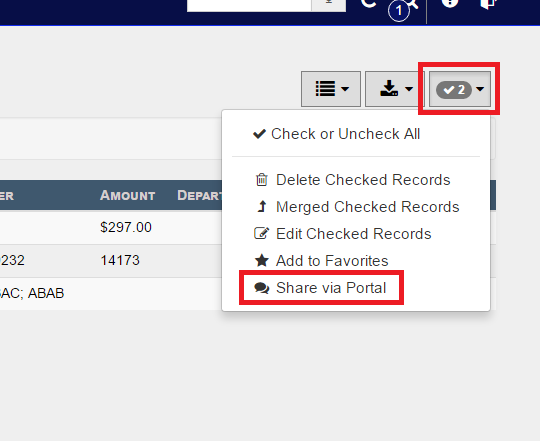
In order to share multiple records you first need to find them and bring them up in the search results screen. To share the desired Records, turn ON the checkbox next to the Records you wish to share. Once the Records are selected, select the Checked Records drop down then select the Share via Portal option.
This brings up the “Create New Portal to Share” dialog.
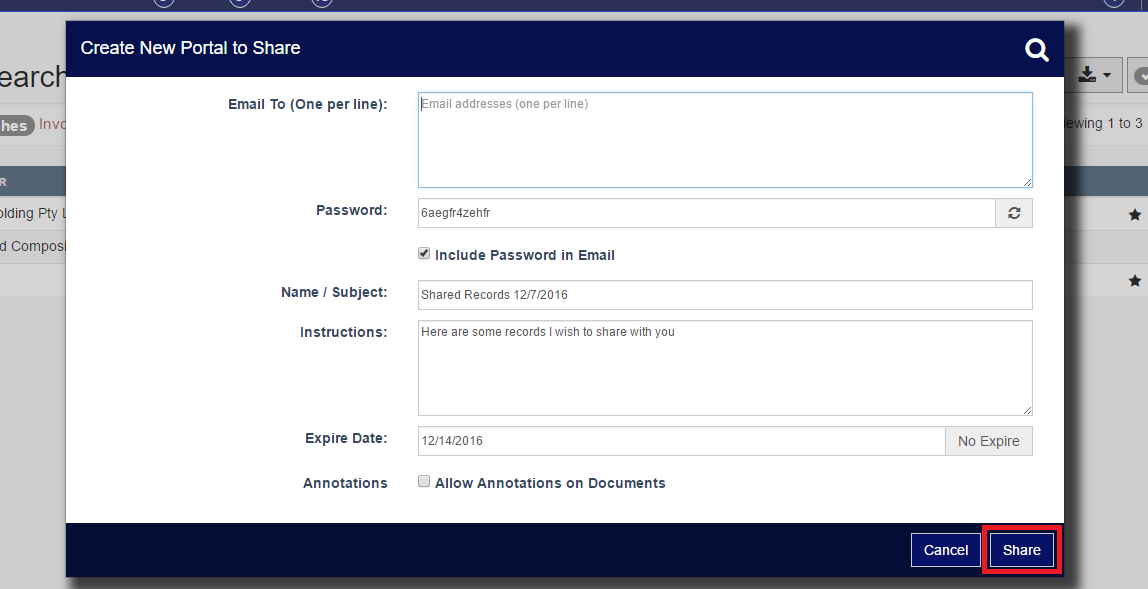
Enter the email address of the desired recipient(s). Customize the password or use the defaulted password. Instructions can also be customized or left at default. Finally, press the Share button to save the Portal and send the email to the recipient(s).
Adding Records to an Existing Portal
If you wish to add one or more Records to an existing Portal, you can do so using similar steps that were used in Sharing Records via Portal previously. First, search for the desired Record that you wish to add to an existing Portal and turn ON the checkbox associated with the appropriate Record(s)

Next, select the Checked Records drop down and select the Share via Portal option as before.

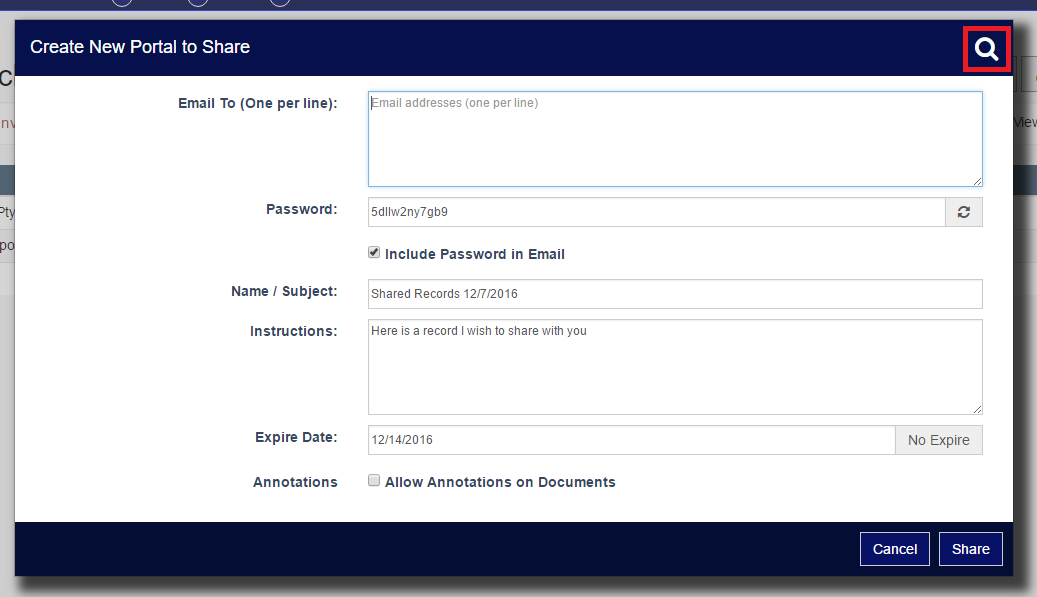
To find previously created Portals, select the [icon name=”search” class=”” unprefixed_class=””] icon in the upper right hand corner of the “Create New Portal to Share” dialog.
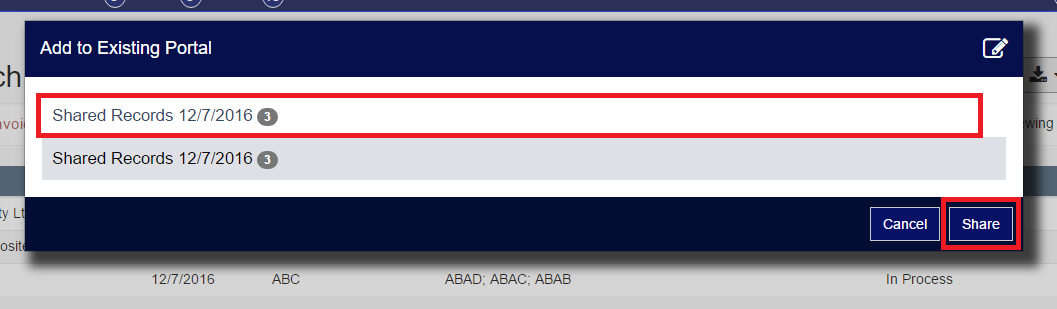
Exiting Portals will then appear for selection. Select the desired Portal in which you wish to Share Records with. Finally, select the Share button.
The recipient(s) will then receive another email notification that they have a Portal that contains Shared Records just as they did when you created a new portal.
Portal View
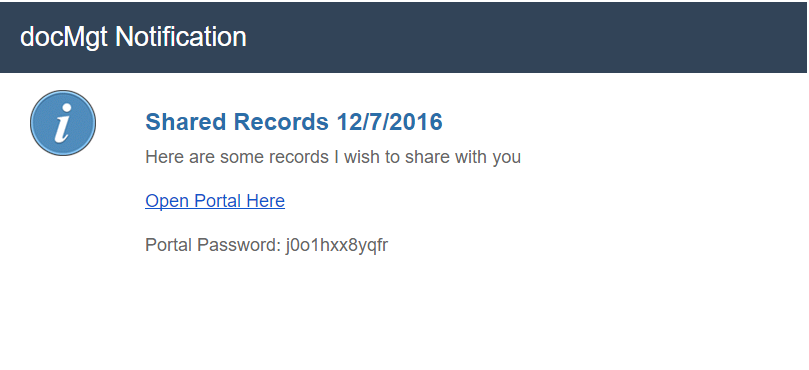
The recipient(s) will receive an email notification letting them know they have a Portal that contains Shared Records. To open the Portal the recipient will select the Open Portal Here link. When they get to the login screen they will need to enter their email address and the Portal Password.
Once the recipient enters login credentials their Portal will open. The portal will display the basic information such as Instructions and a Due Date (if applicable) and will then list all the Shared Records.
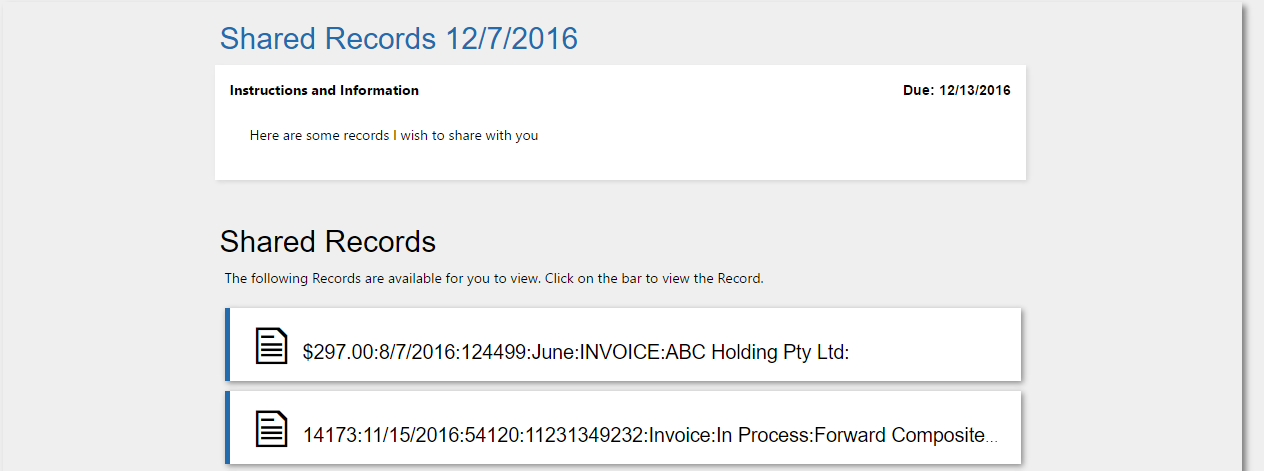
To view a Record the user simple has to click it in the list and this displays all the contained Documents.
Note: Shared Records will include all Documents associated within the Shared Records.
Finding and Editing Existing Portals
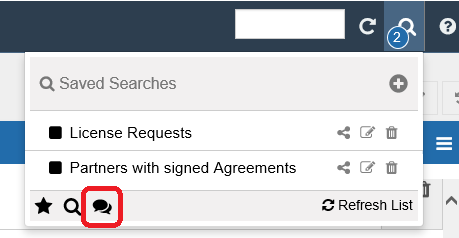
To find, edit and remove Records from exiting Portals select the [icon name=”comments” class=”” unprefixed_class=””] icon from Saved Searches on the toolbar.
From the Your Portals page, you will see all Portals that you’ve created.
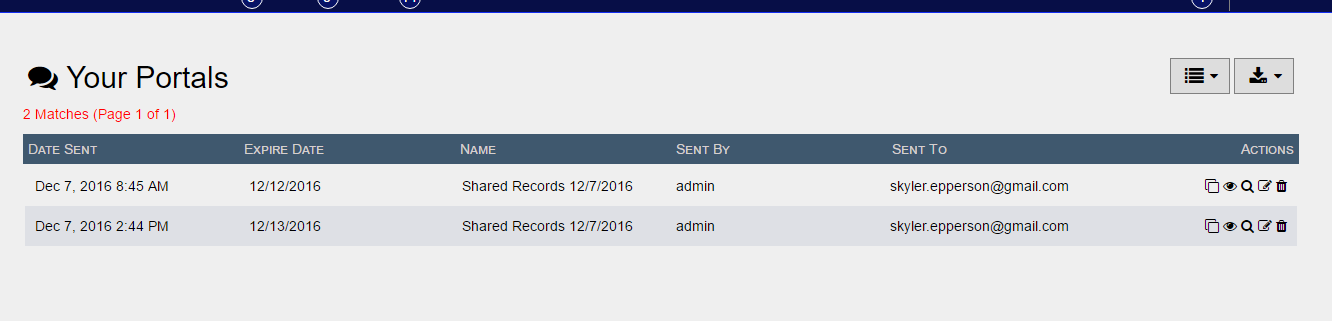
In the Actions of each Portal you’ll have options to:
- Copy the Portal URL to your clipboard [icon name=”clone” class=”” unprefixed_class=””]
- View Portal [icon name=”eye” class=”” unprefixed_class=””]
- View Records [icon name=”search” class=”” unprefixed_class=””]
- Edit Portal Properties [icon name=”pencil-square-o” class=”” unprefixed_class=””]
- Delete Portal Properties [icon name=”trash” class=”” unprefixed_class=””]
To Edit a created Portals Properties, select the [icon name=”pencil-square-o” class=”” unprefixed_class=””] action button.
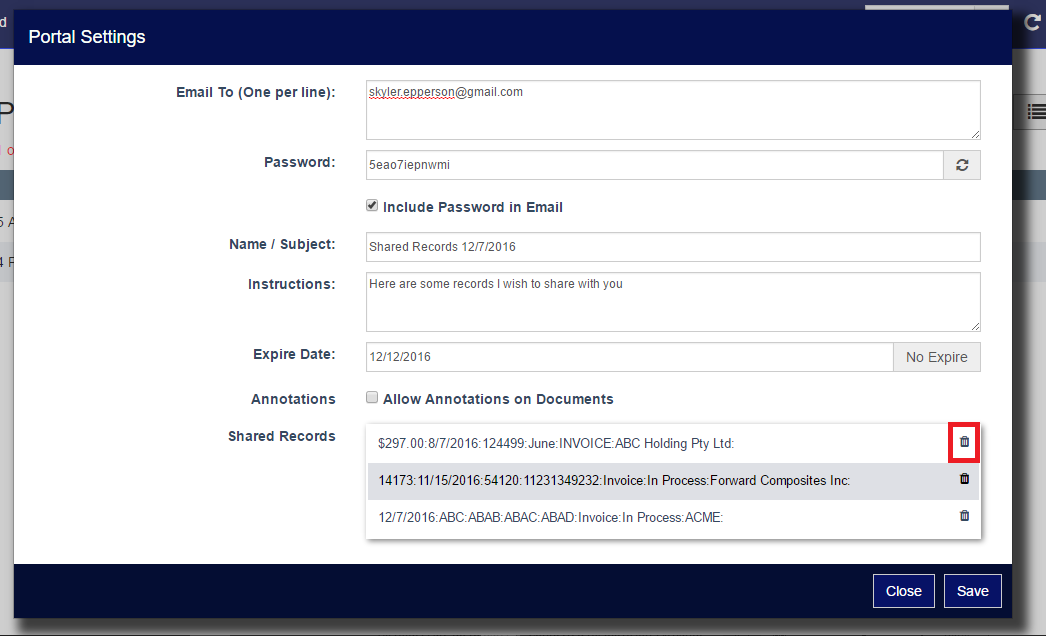
In the Portal Settings you can Edit the Portal Properties as well as delete any Records from the Portal that you wish to remove.
Summary
Now you know how to share multiple Records in a portal as well as edit the Portals Properties! We hope all users and external users enjoy this seamless process.
Related Articles