

Edit Document Name
Notice that a Record’s document or documents have an incorrect name? Simply want to edit the name of a document? You’ve come to the right place! If you have “edit” rights, imitate the following steps to edit any Record’s document name.
Edit Single Document Name
The most common scenario is to edit one document name at a time. It is also the simplest way to change document names. We will describe that here and below will show you how to change multiple documents’ names at once.
Step 1 – Open Document
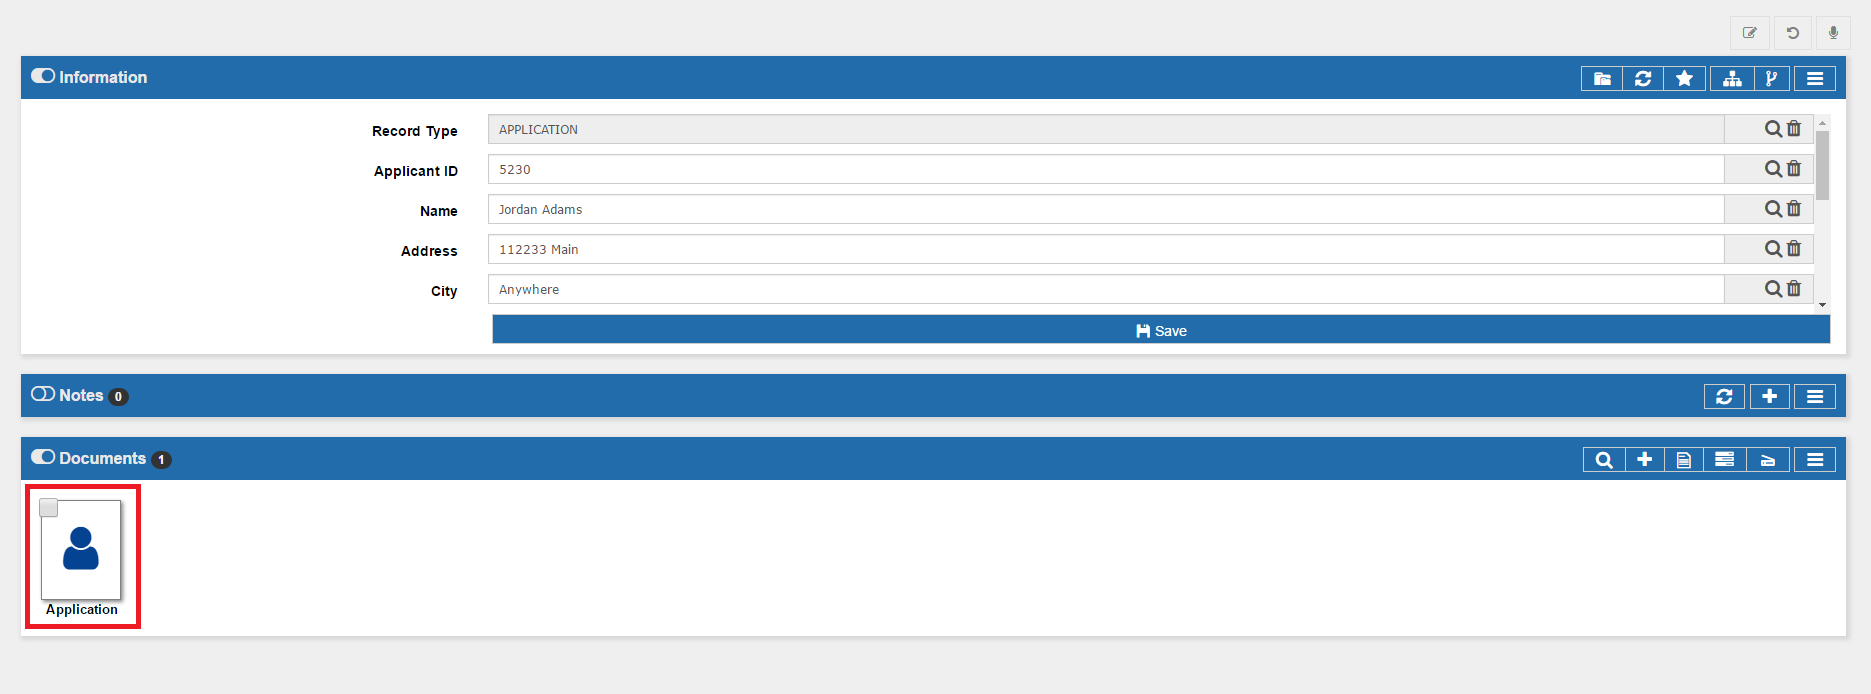
In the above example you’ll see that an Applicant record has been opened. In this record there exists the applicant’s “Application” document. To rename this document, start by opening it (click the thumbnail).
Step 2 – Open the Document Properties Dialog
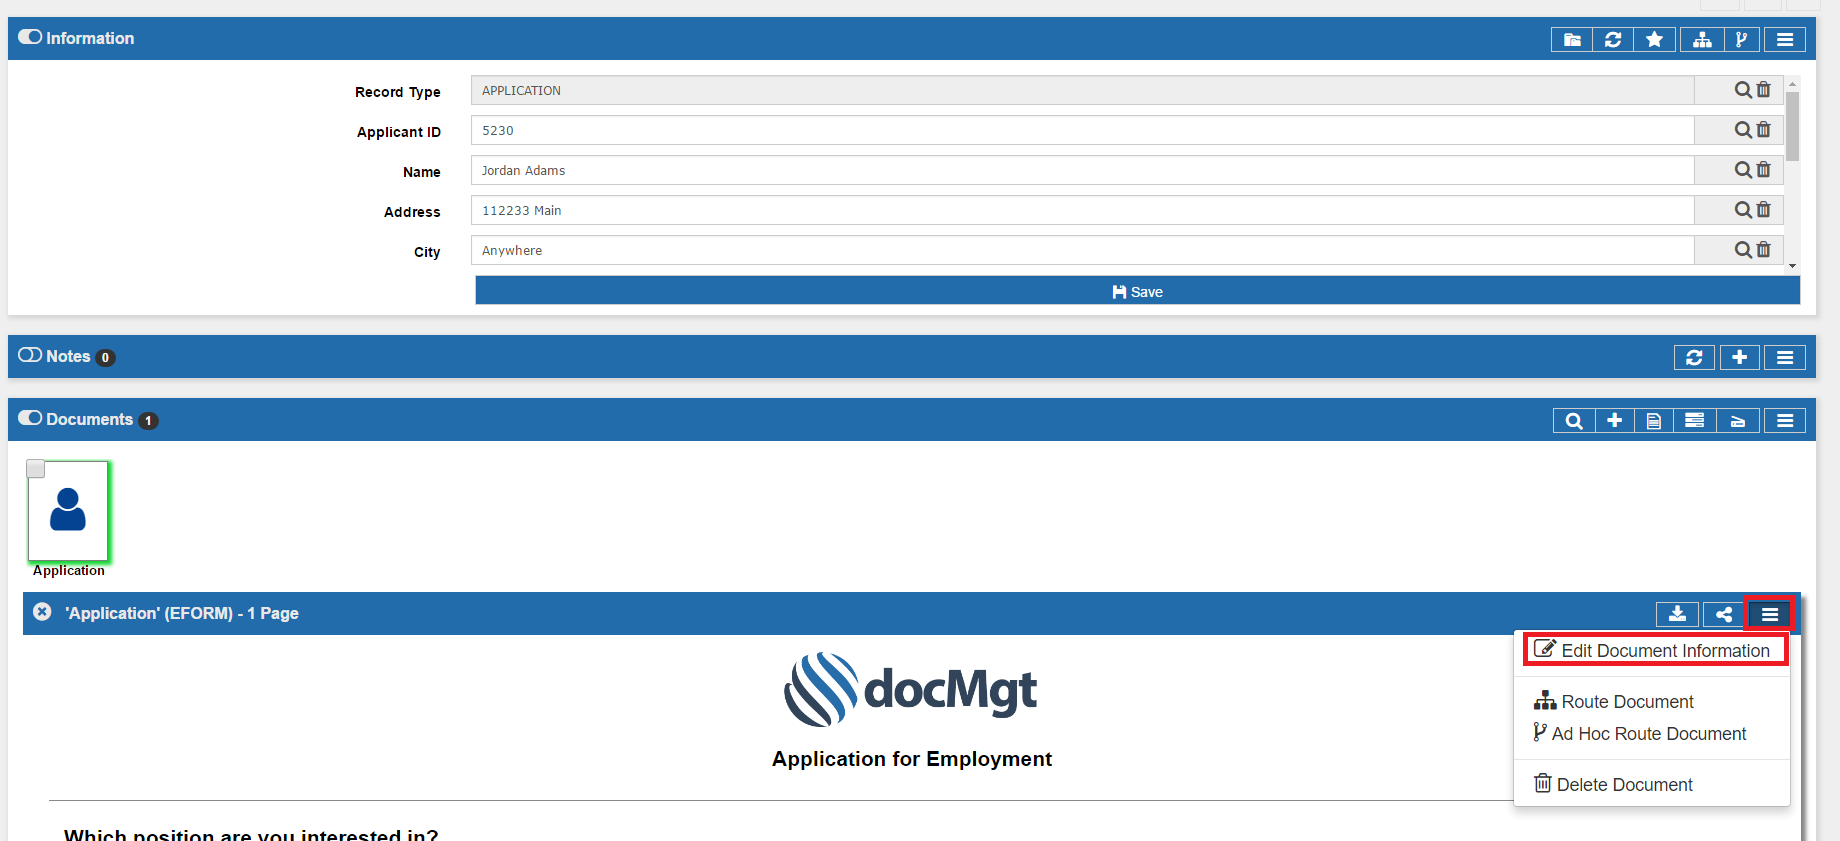
Now that the document has been opened, open the drop-down “Options” menu. From the drop-down select [icon name=”pencil-square-o” class=”” unprefixed_class=””] Edit Document Information. This will open the Document Properties dialog.
Step 3 – Change the Document Name
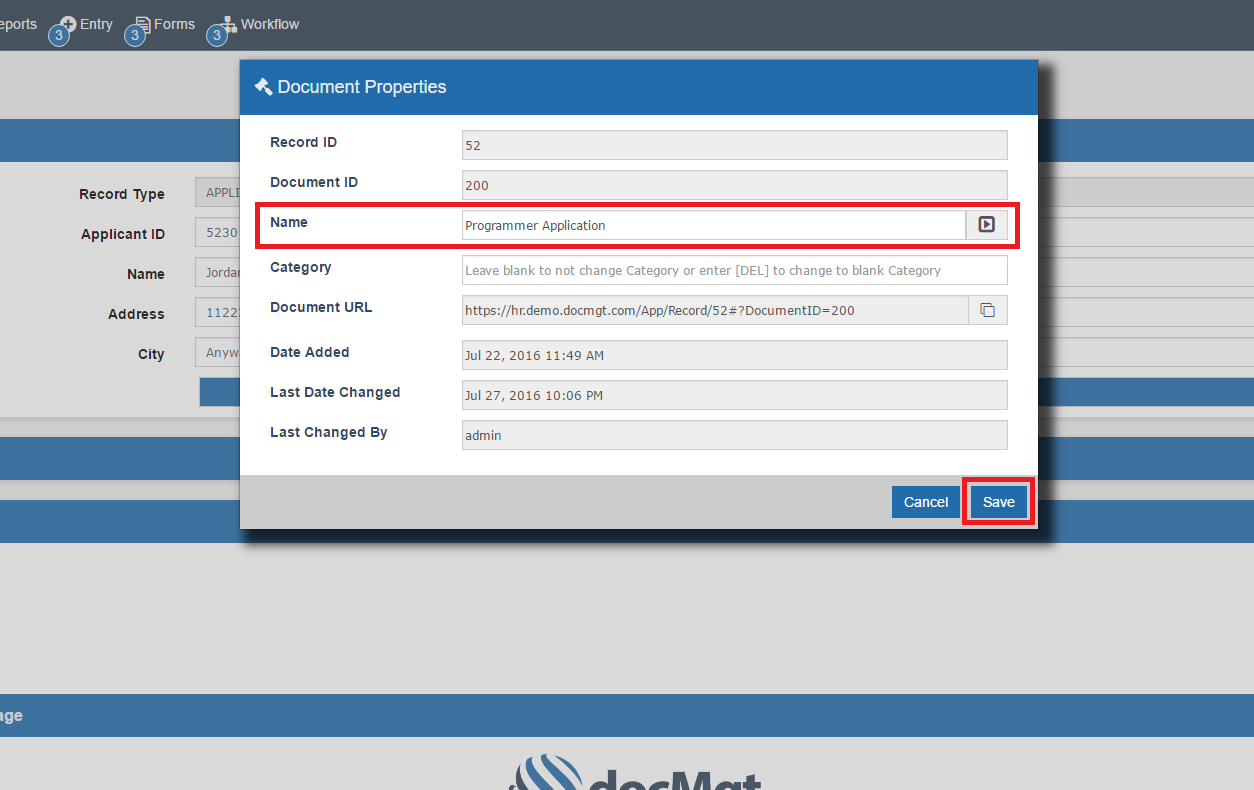
From this dialog you’ll see that the Document Name can be changed. Change the name here and click Save. In this example we changed the document name to “Programmer Application.”
Step 4 – Confirm Document Name
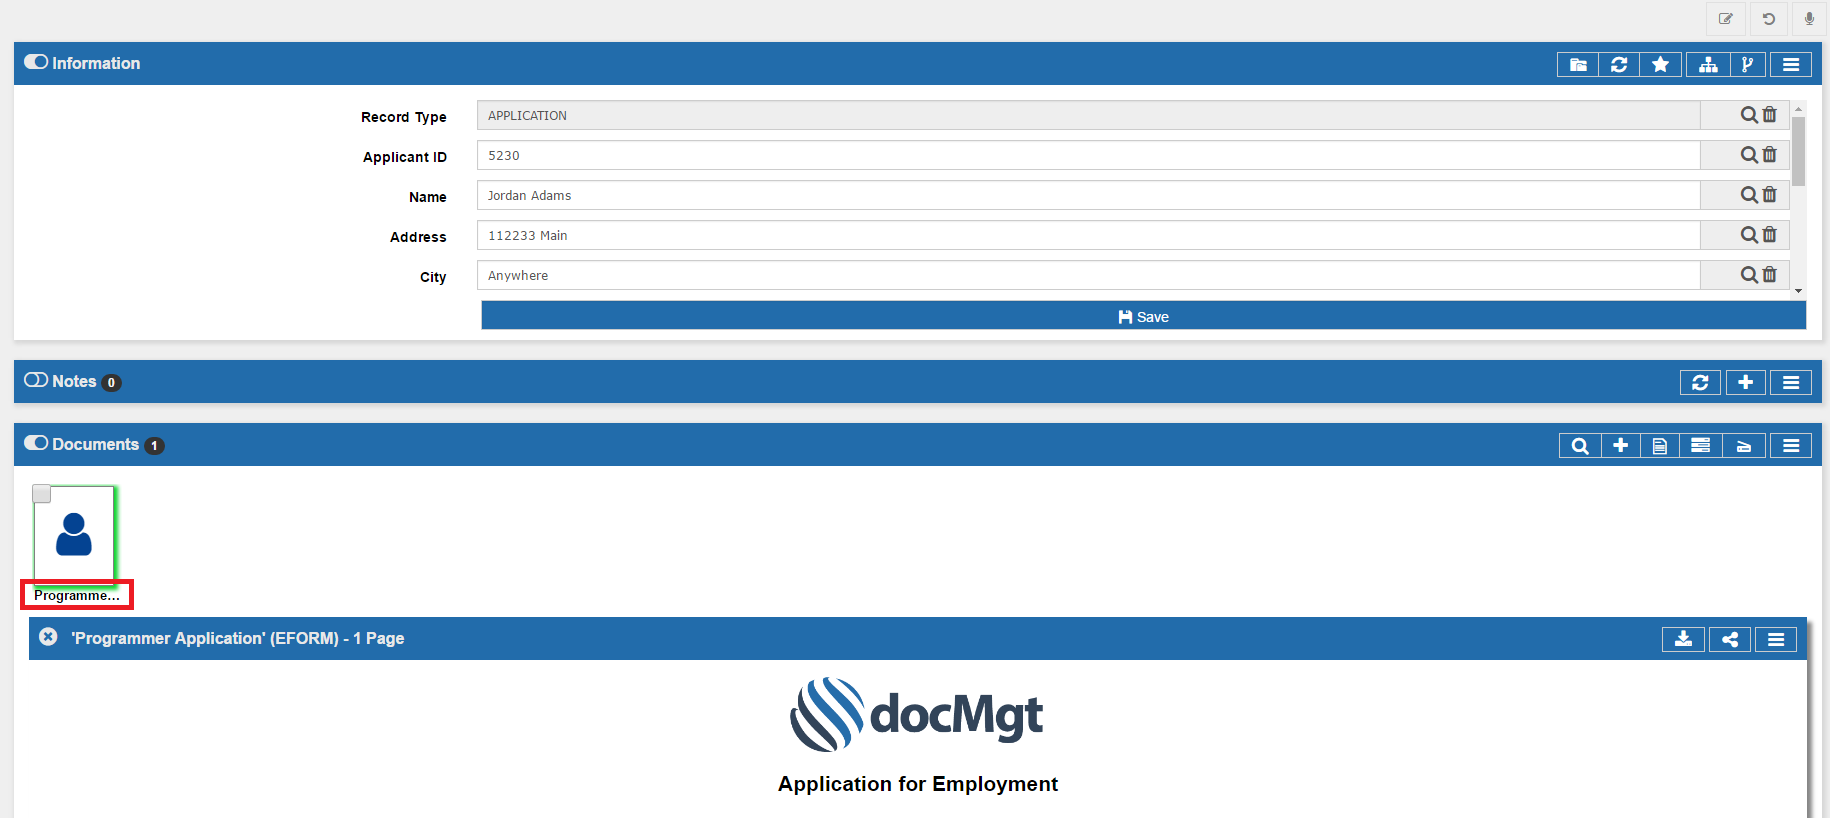
Document name change is confirmed! The document name has now been set to the desired “Programmer Application” name.
Edit Multiple Document Names
There may be times when you wish to change multiple document names. If you do this then each document you select will be changed to the same name. While this might not be an every day occurrence, it does have its uses.
Step 1 – Select Documents to Edit
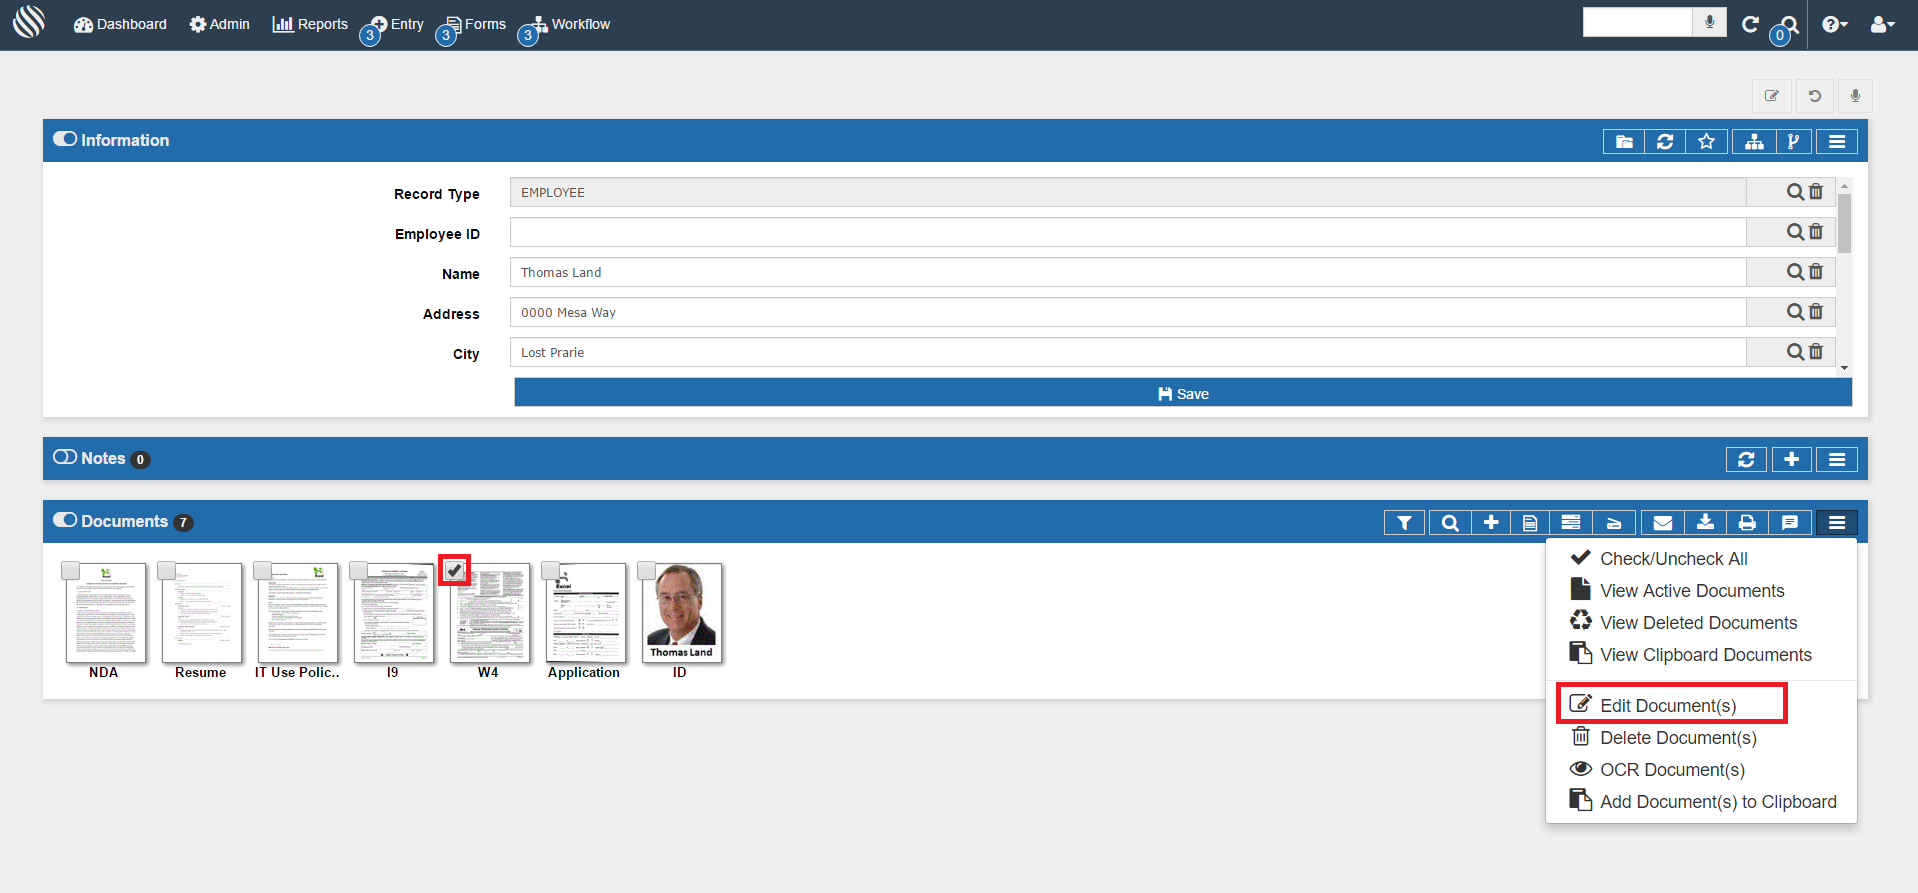
In this example we will be changing a single document name but you can use it for as many documents as you like. Here an Employee record has been opened. The Record has a Document named W4, but the document is actually a W9. Select ALL documents associated with the name change by checking the check box for each document.
Step 2 – Open the Document Properties Dialog
Next, select the Menu Options button in the Documents panel and click [icon name=”pencil-square-o” class=”” unprefixed_class=””] Edit Document(s). This will open the Document Properties dialog.
Step 3 – Change the Document Name
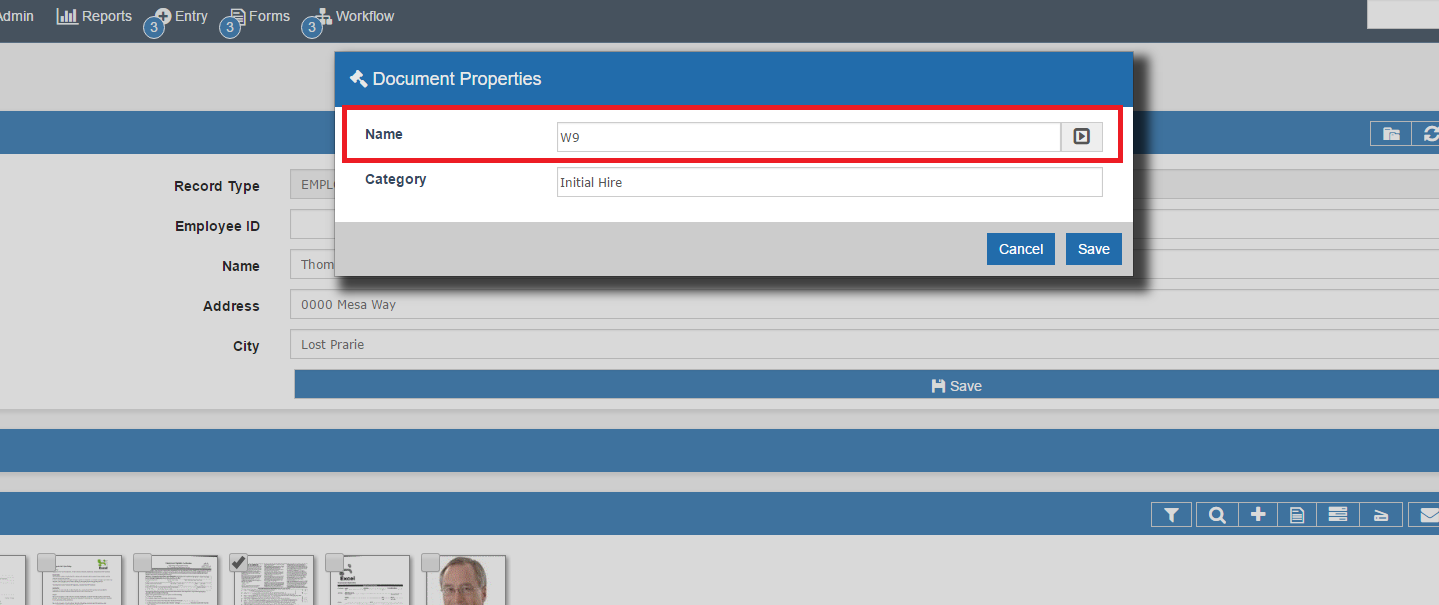
From this dialog you’ll see that the Document Name can be changed. Change the name here and click Save. In this example we changed the document name to “W9.”
Step 4 – Confirm Document Names
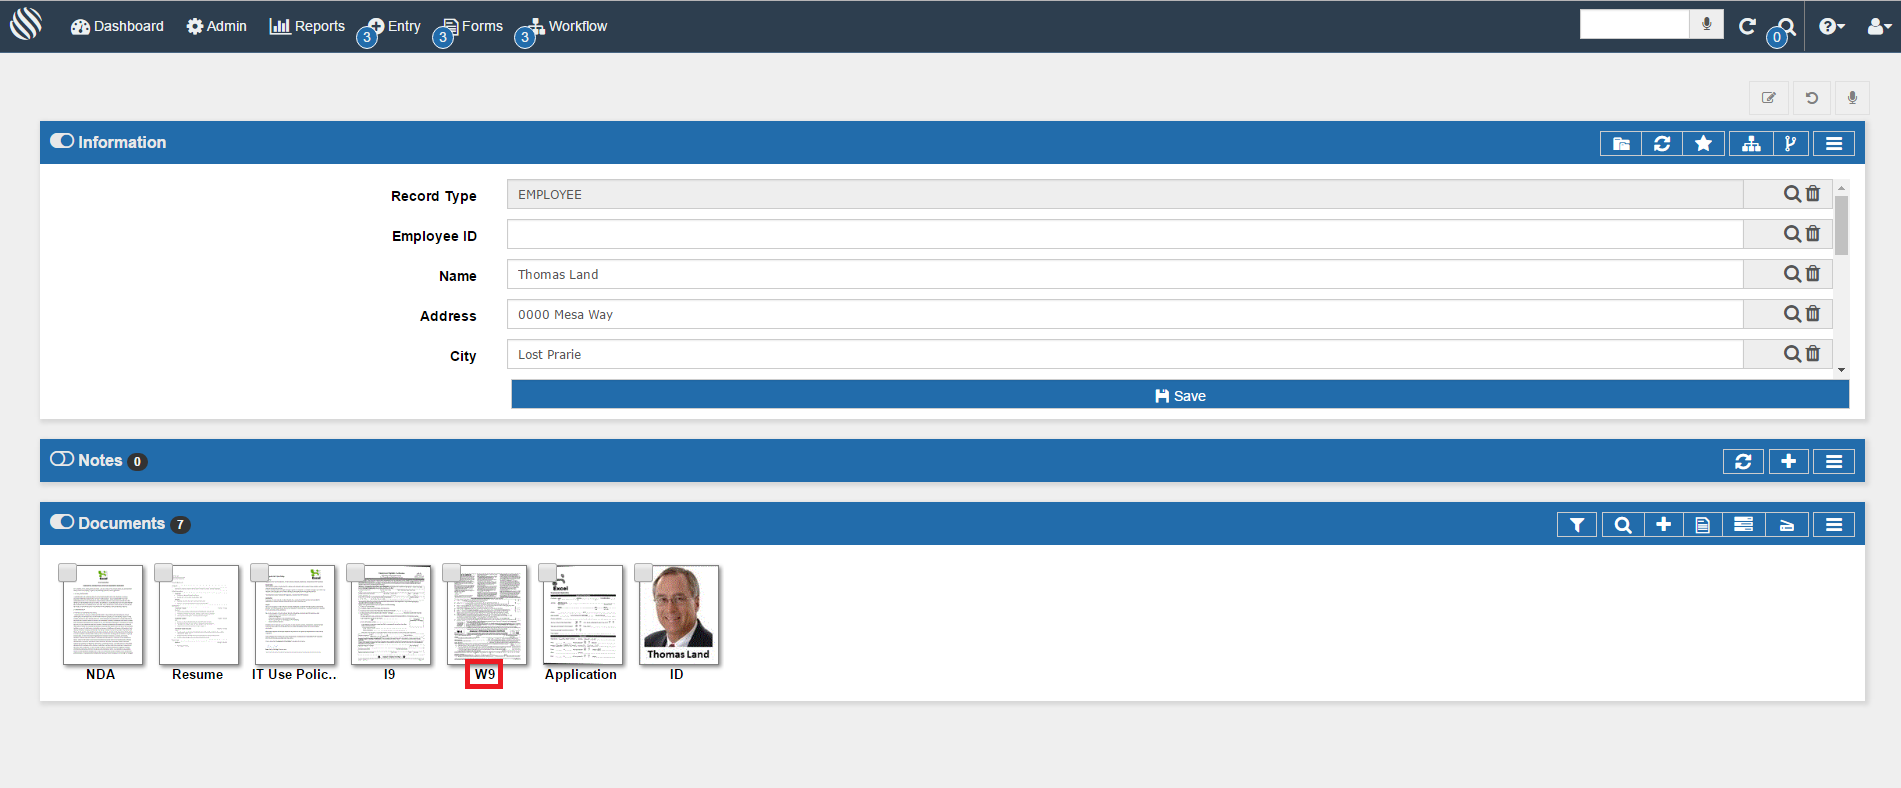
There you have it! The document previously named W4 now possesses the proper name of W9. If you had selected multiple documents they all would now have the new name.
Summary
This article was designed as a simple tip on how to rename documents. We will have more coming in the future so stay tuned to the Support Line to see more tips on recovering from problems.