docMgt believes in providing its users with every opportunity possible to personalize the material in their site. This not only includes branding from the site level, but also branding from the E-Form level. Putting appropriate organizational branding on your E-Form creates a link between the internal and external users viewing the E-Form and your company. This “Add Company Logo to E-Forms” article will provide step by step directions on how to add your company logo to your E-Forms.
E-Form without Image Intact
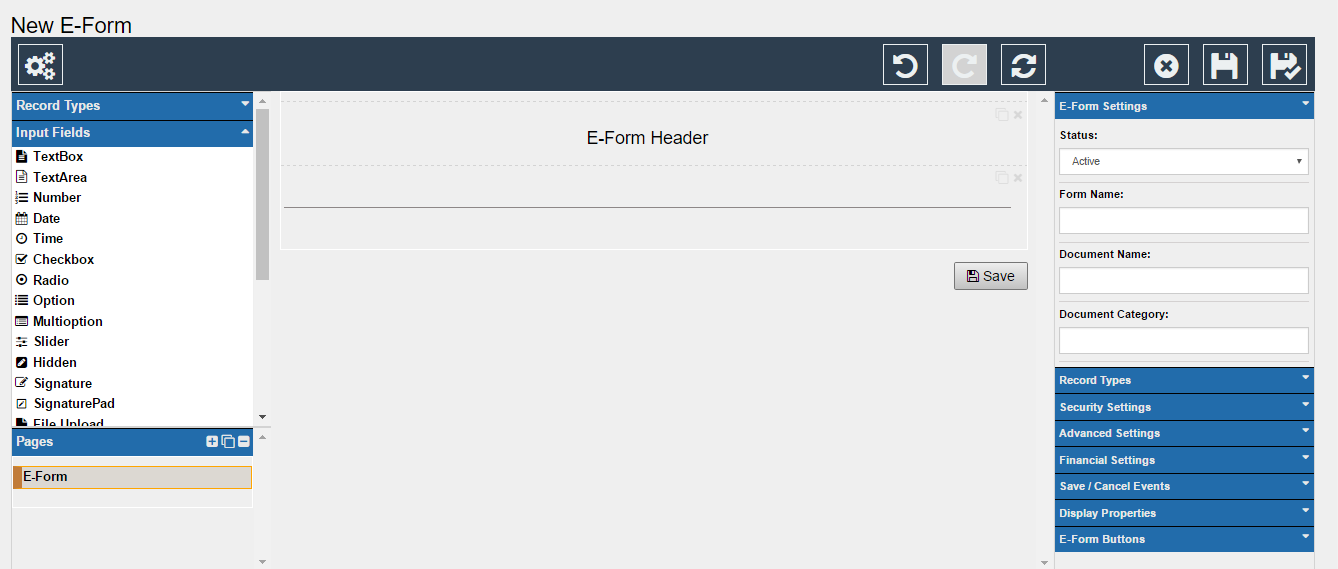
If there is not a logo or image field currently in the E-Form designer you will want to add one before you continue the article.
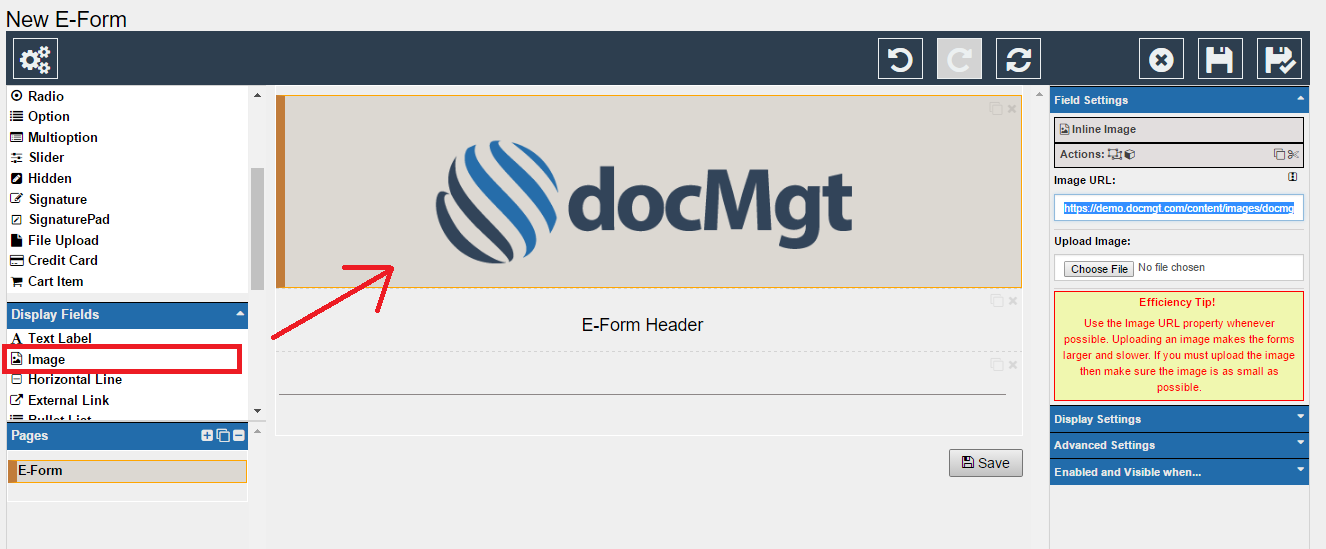
Select the “Image” field option from the left panel under the “Display Fields” drop down. Drag and drop the “Image” field option onto the form.
E-Form with Image Intact
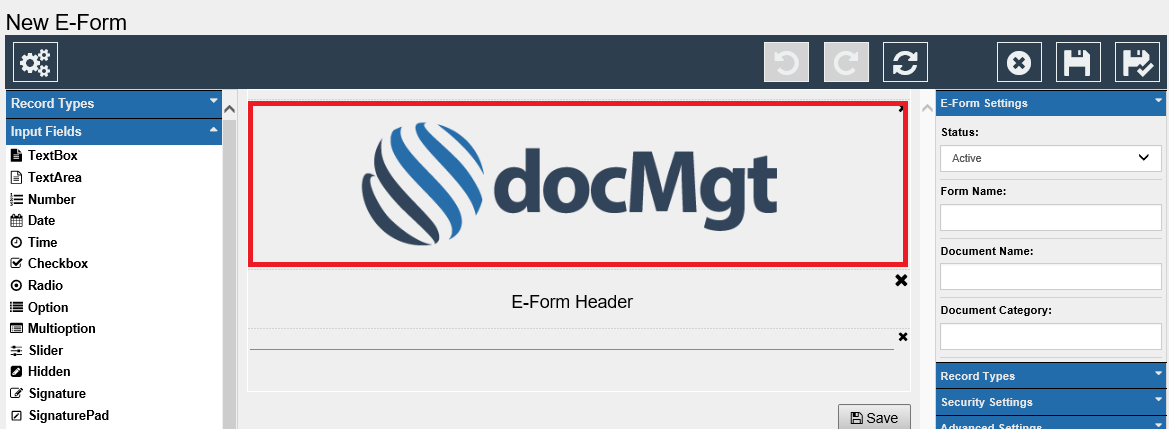
Change the logo by selecting the image’s field on the form. To select the field simply click on the image.
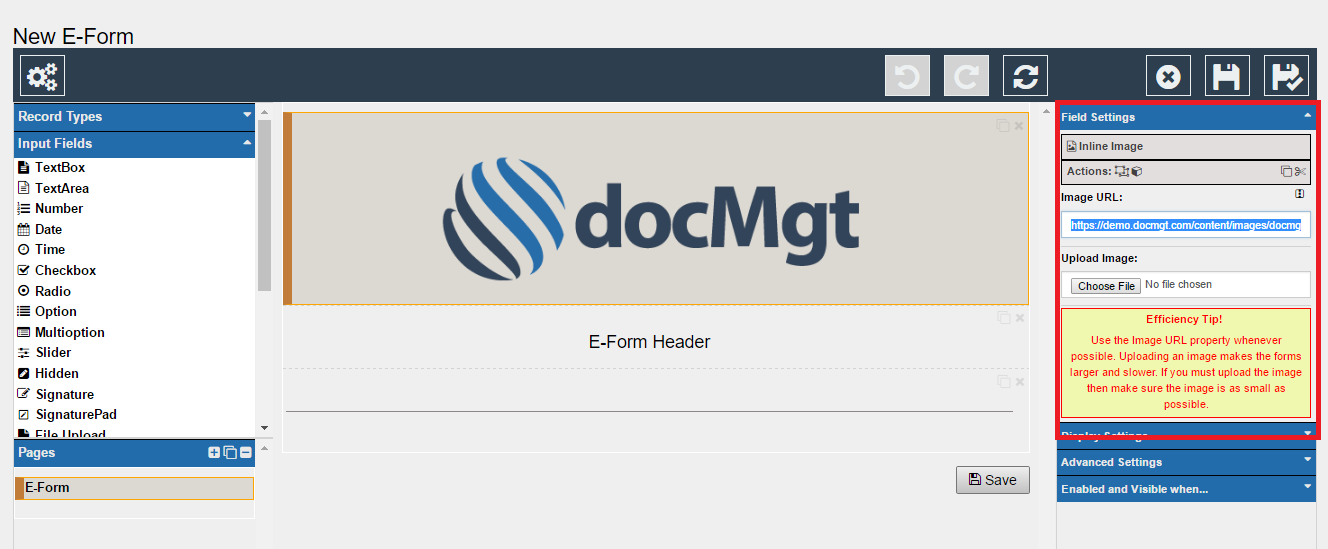
Once the field is selected, the “Field Settings” will appear in the right panel. In the Field Settings, you are given two options to change the image that’s currently in place.

- Image URL – Enter the desired Images URL in the Field Settings and the image will be uploaded into the form automatically

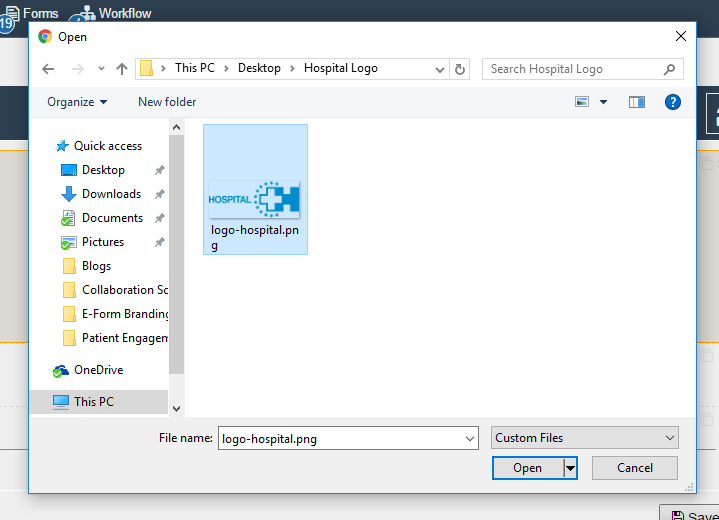
2. Upload Image – Choose a File of the desired Image. The image will uploaded into the form automatically.
NOTE: For speed and efficiency you should use the Image URL property whenever possible.
Summary:
Congratulations! You have successfully branded an E-Form with your own logo. Learn how you can brand the rest of your docMgt site, by reading the Branding your docMgt Site blog.
